This activity resource provides ideas for making 2D patterns inspired by the shapes of plants and seeds. It is voiced so that it can be presented in the classroom or used by families at home.
Plant shapes and patterns
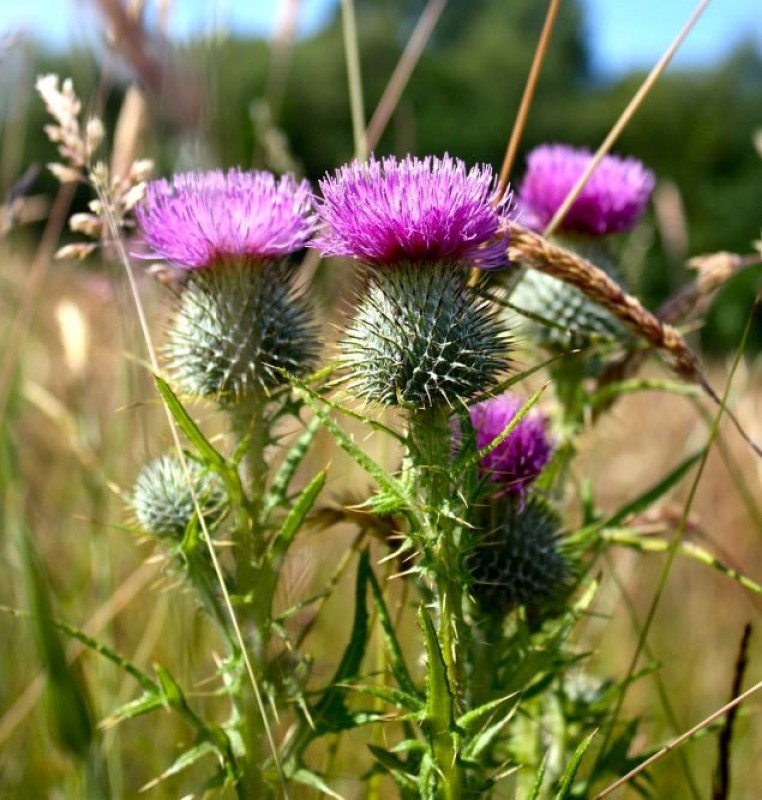
If you look closely at plants, you will see all sorts of shapes and textures. These shapes and textures often inspire artists and designers to make patterns.
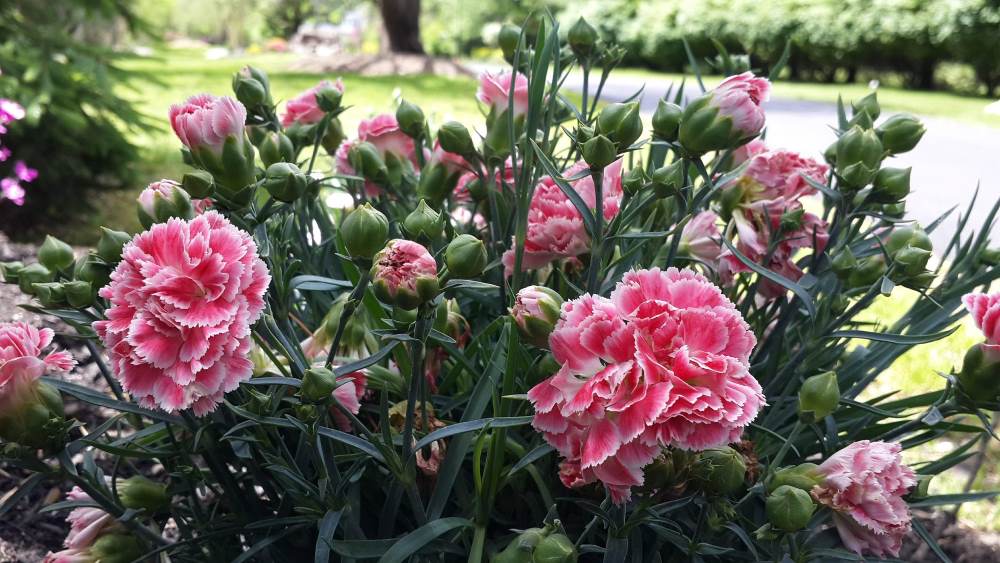
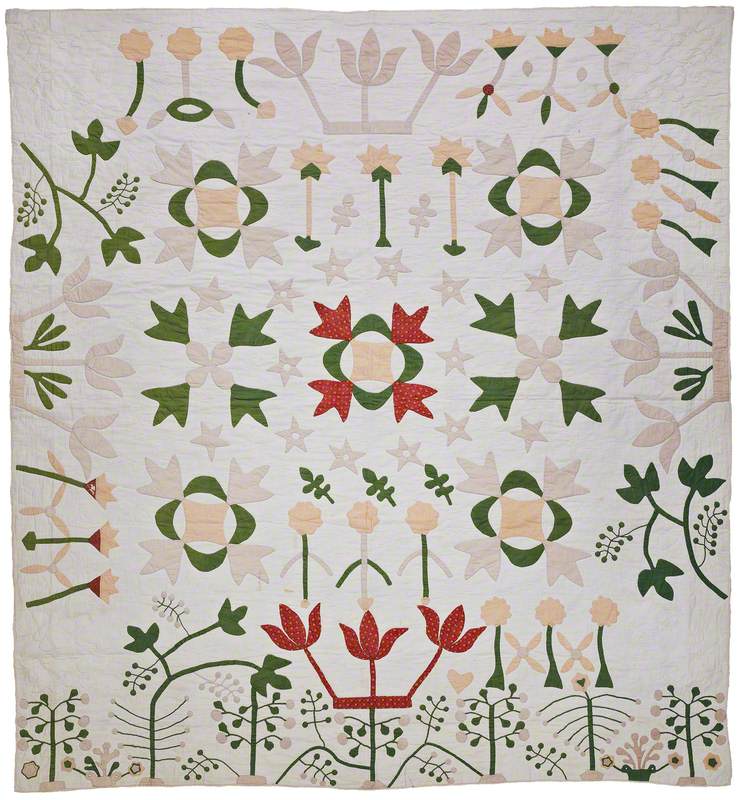
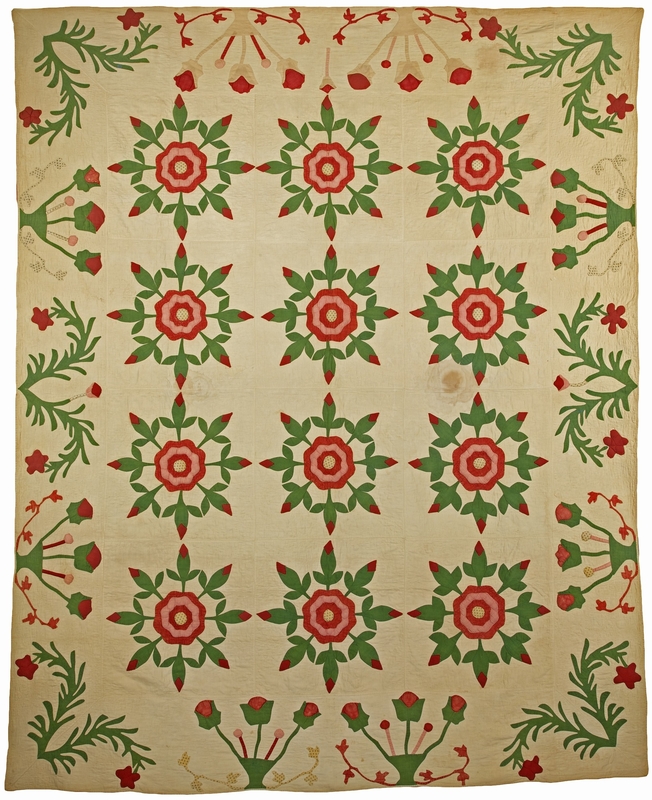
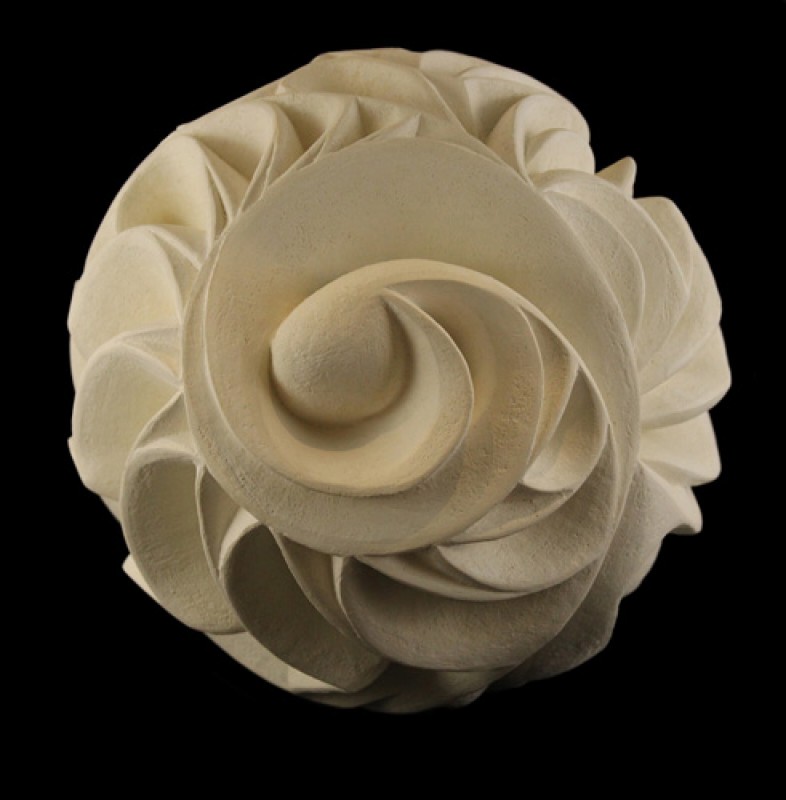
This quilt was made in Hawaii. It celebrates the carnation flower. Carnations were introduced to the islands by settlers in the first half of the nineteenth century. The flowers quickly became popular and were used for floral garlands made for flower festivals.
Can you spot the shapes of the petals and leaves of a carnation in the design of the quilt?
How has the artist abstracted and arranged the shapes?
Carnations
Materials
You will need:
source material to draw from: plants, seeds, acorns or nuts; or photographs of plants
paper and pencil
coloured crayons, pens or paint and a brush
card for shape templates (an old cereal box would be ideal)
scissors
coloured paper and glue (for pattern collage)
Activity instructions
Before you start, gather your source material
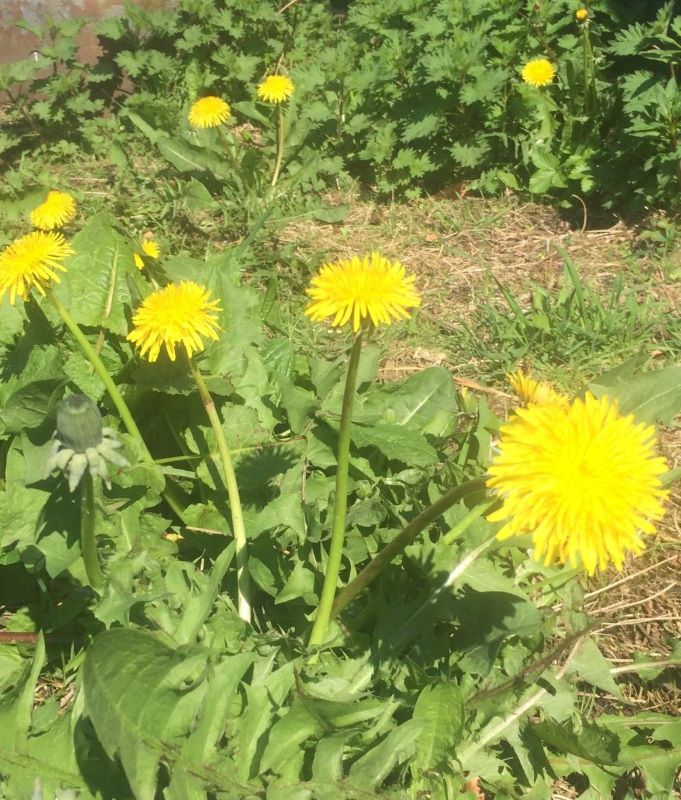
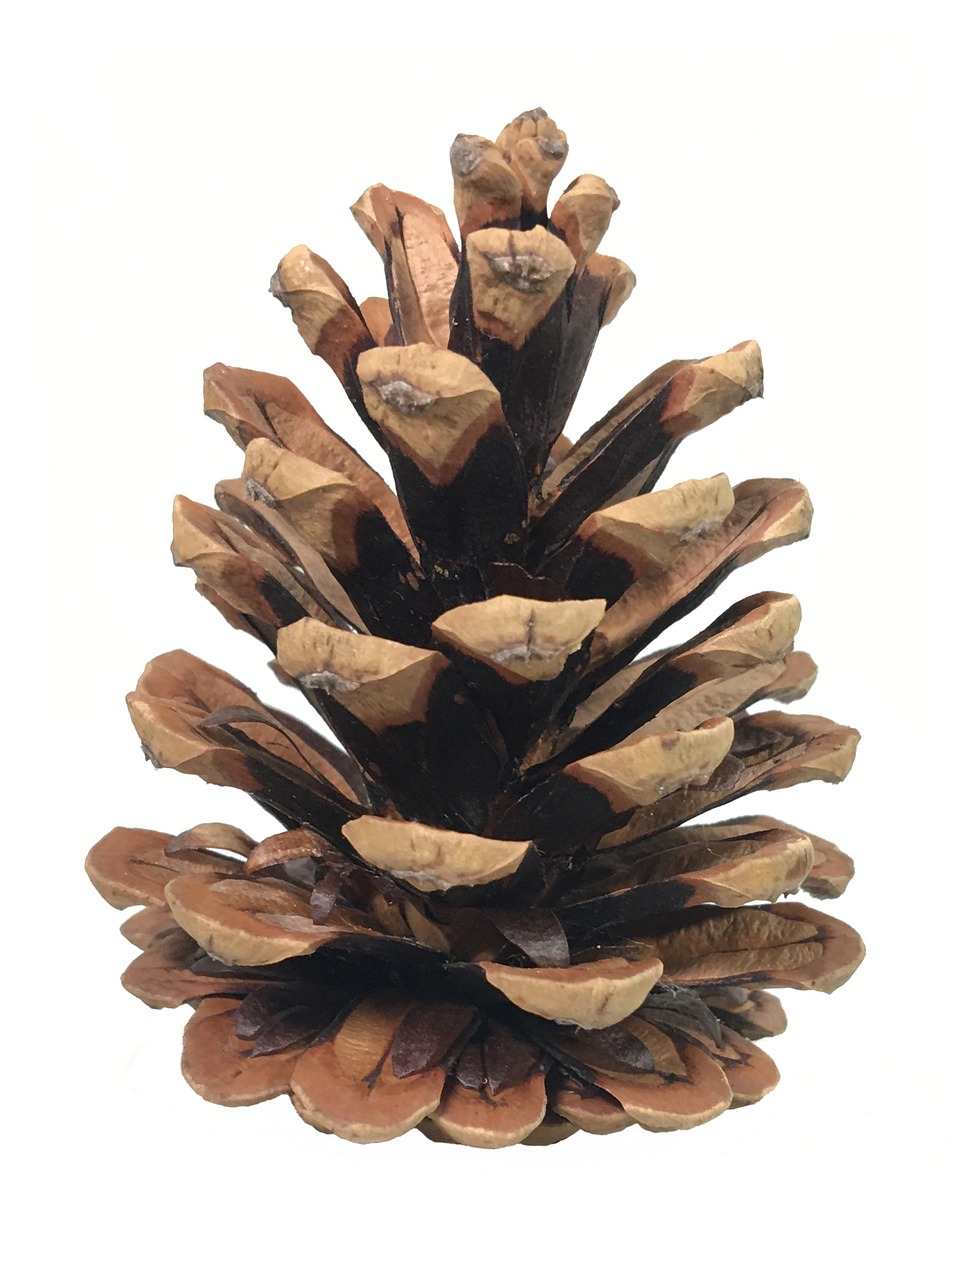
Collect plants, cones and seeds to use as inspiration for your artwork. Try and choose plants and seeds that have interesting shapes and textures.
You could also photograph plants and work from these images. Or search for images of plants on image-sharing websites such as Flickr or Pixaby for plant ideas and inspiration.
Dandelion plant
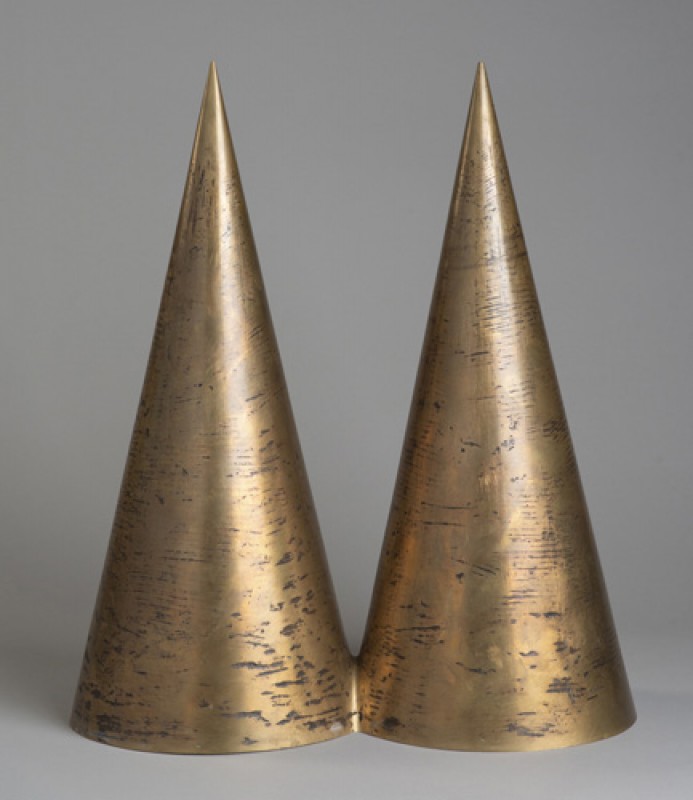
A pine cone
Step 1. Analyse shapes and textures
Look closely at the details of plants or pictures of plants you have gathered.
Can you spot individual shapes such as the petals of a flower or the scales of a cone?
How many different shapes can you see in one plant or seed?
Think of words to describe the textures. Can you see bumpy, rough, jagged, ridged or wiggly textures?
It may help to discuss the shapes and textures you can see with your class.
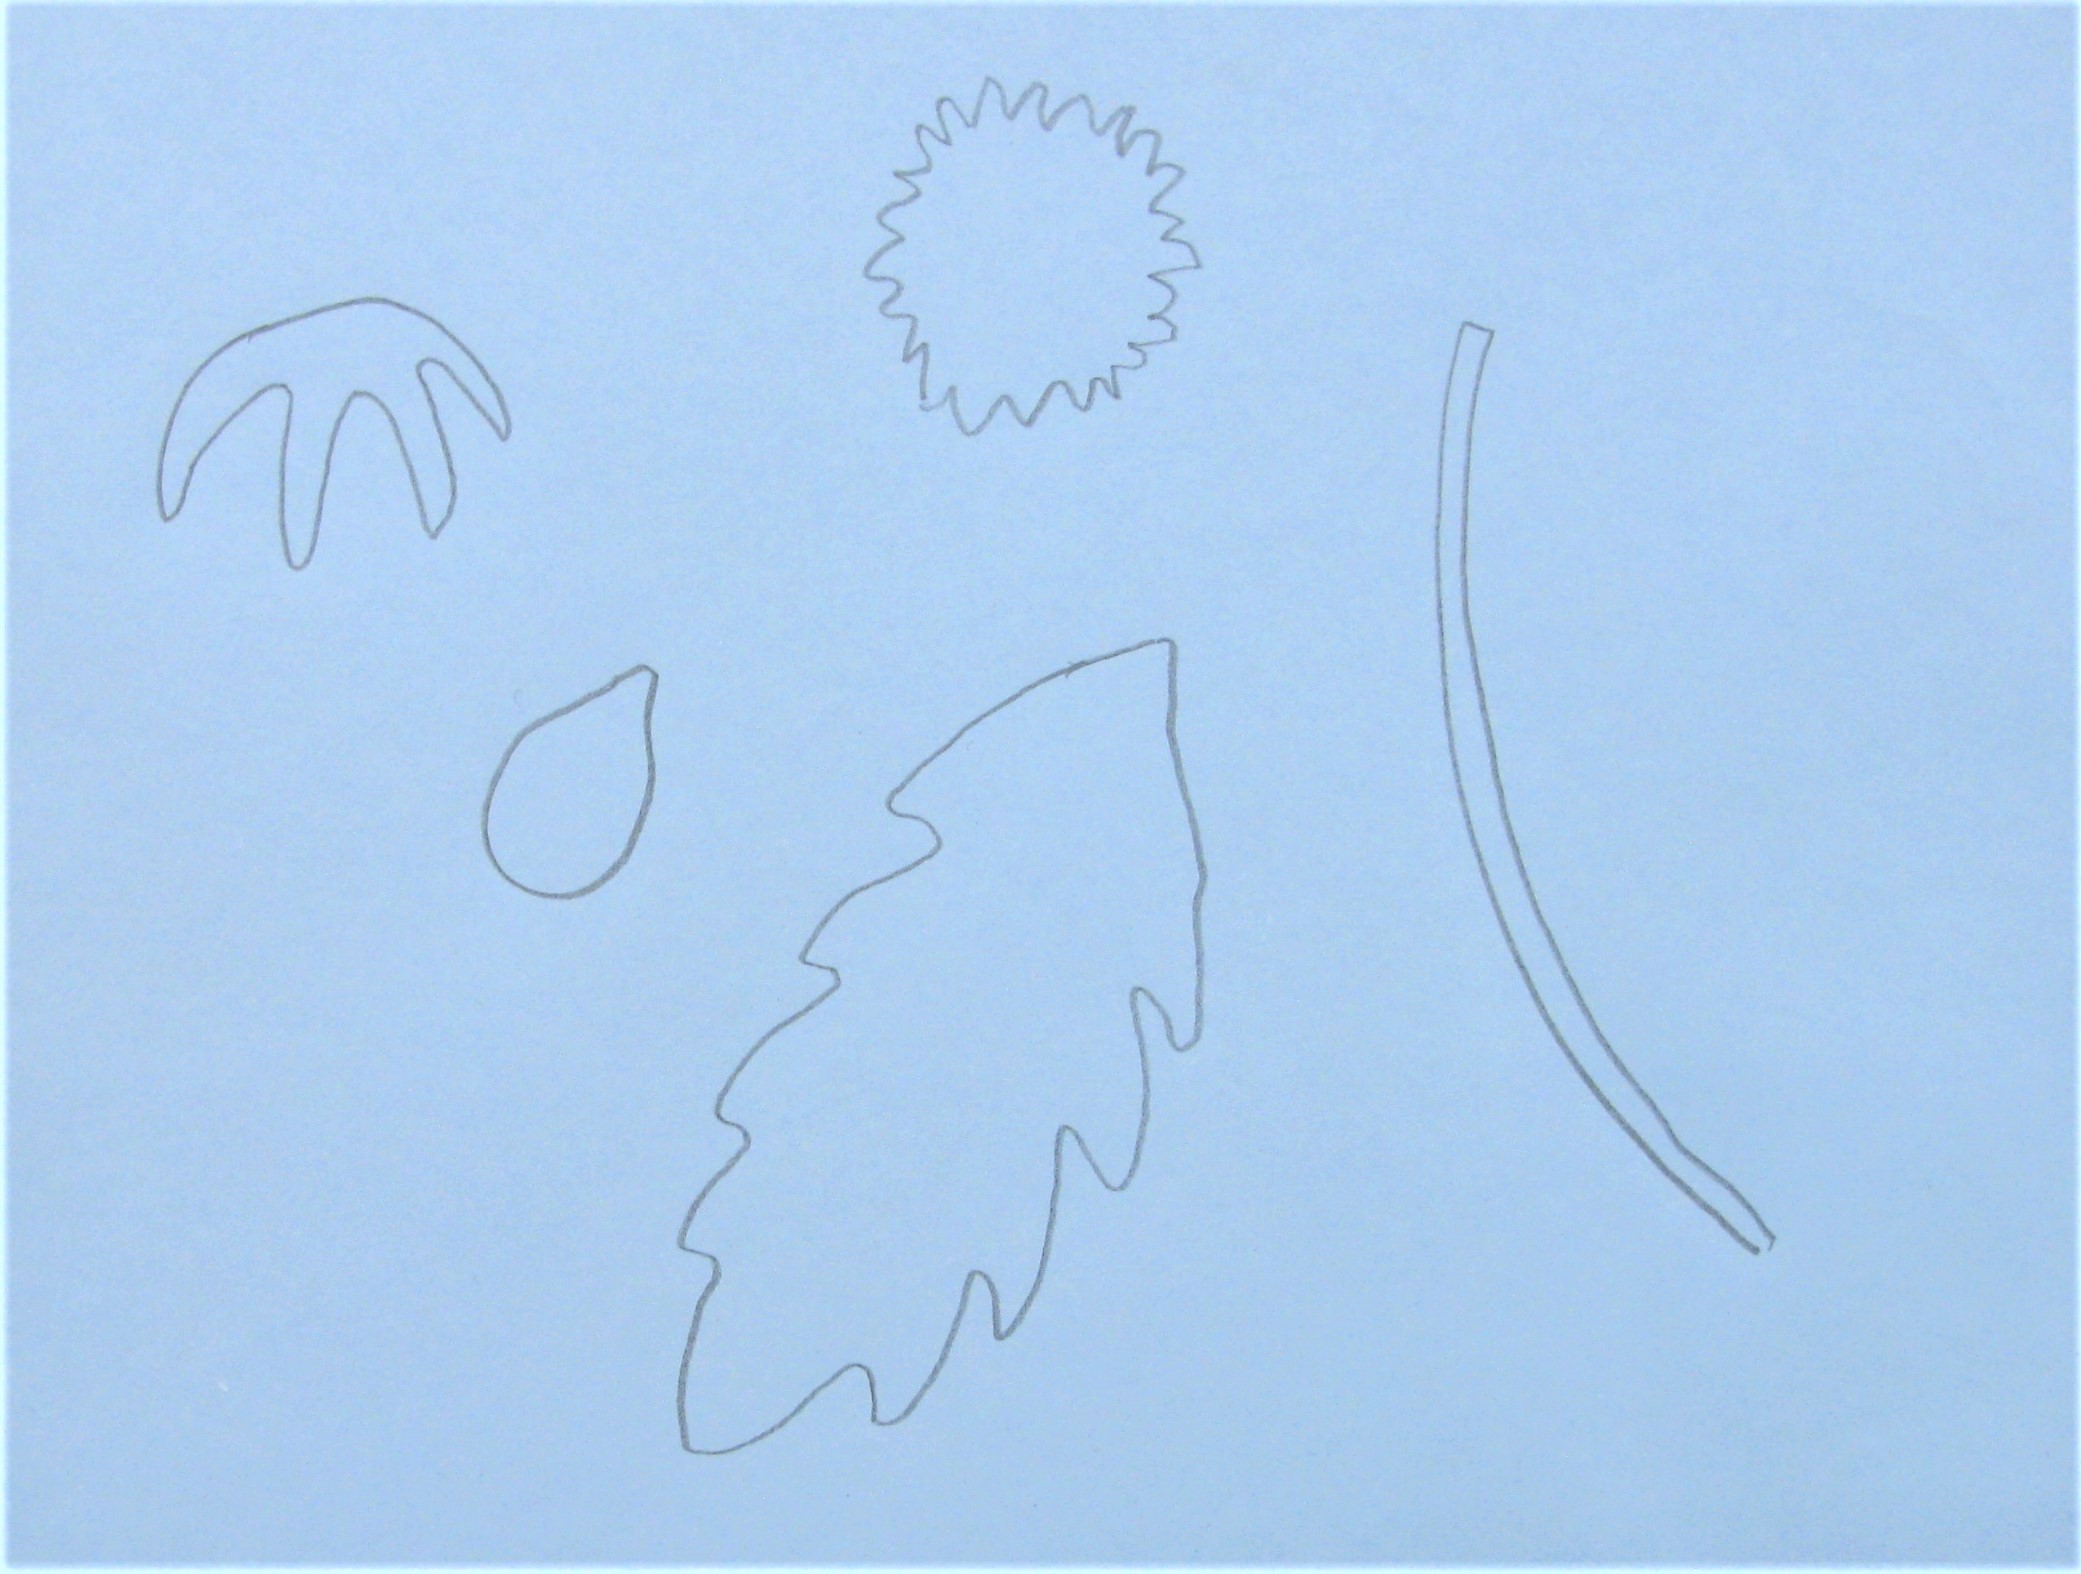
Step 2. Draw the shapes
Draw the shapes you can see. Rather than drawing the whole plant or seed, try and break down or abstract the shapes.
Details of a dandelion
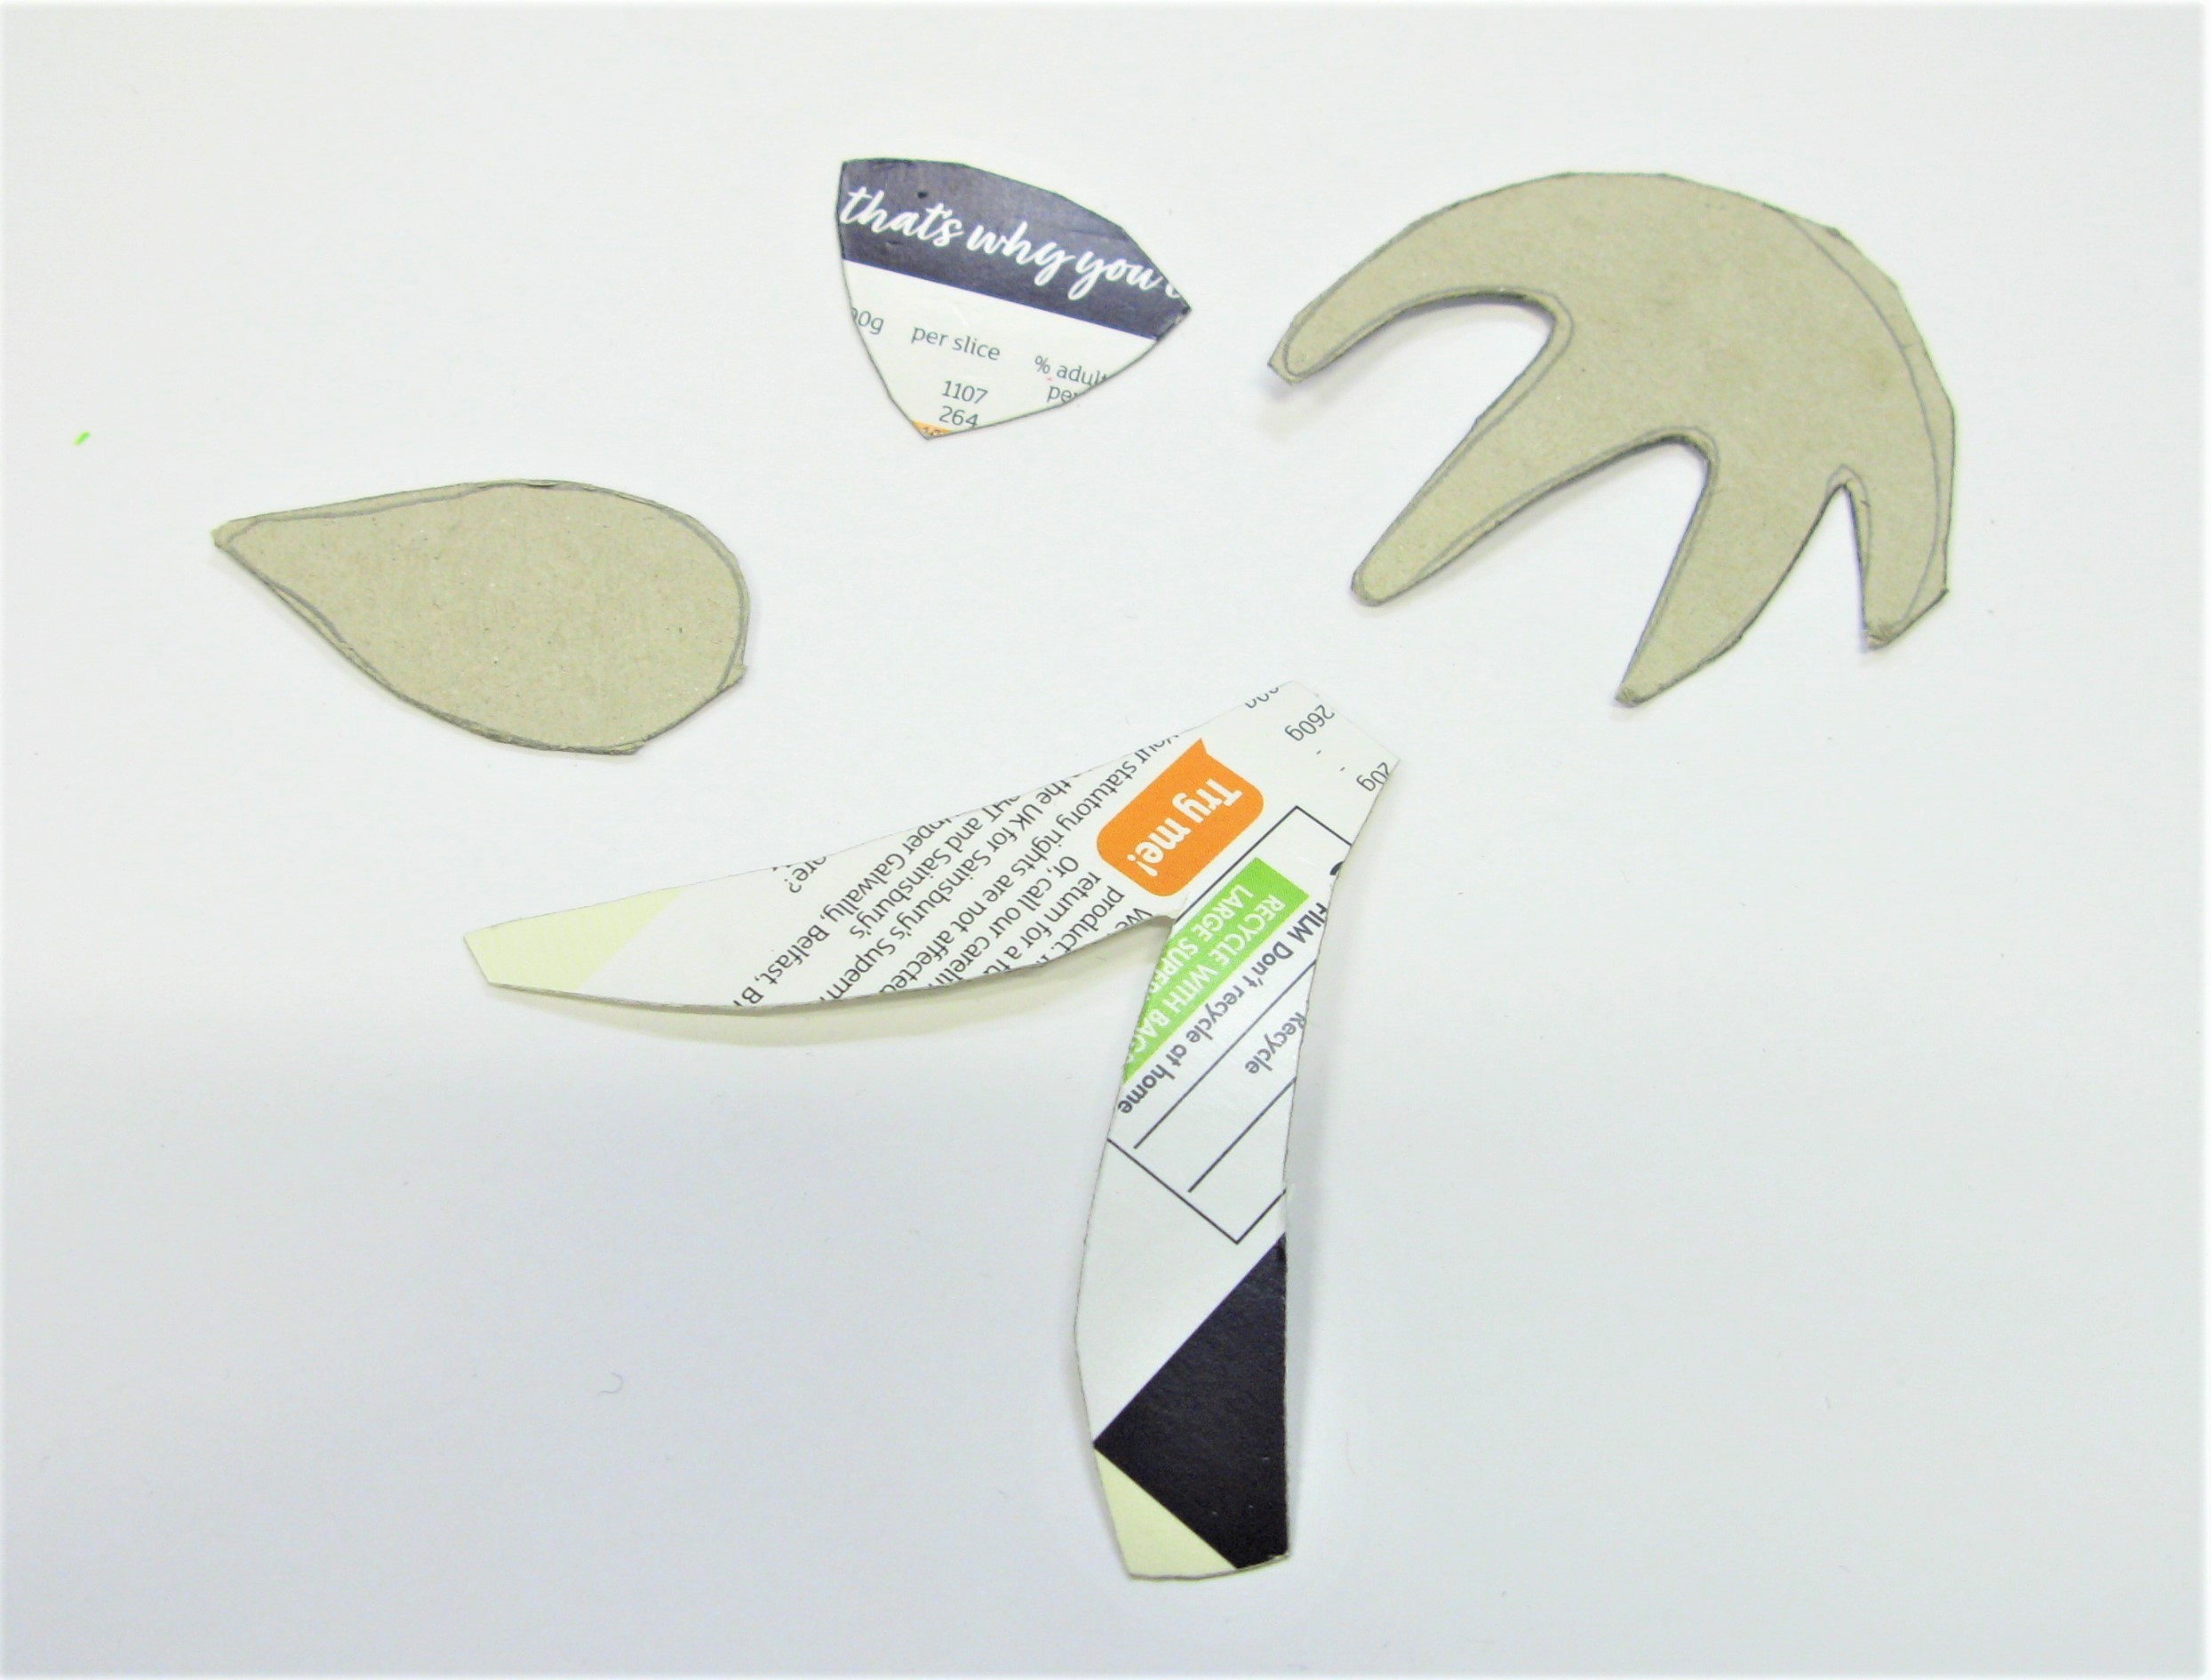
Step 3. Make a shape template
Choose one or two of your favourite shapes from the shapes you have drawn.
Draw these shapes onto cardboard, then cut them out to create templates that you can draw around to make your pattern. You may need to simplify the shapes if they are fiddly or complicated.
These shape templates were inspired by the scales of a pine cone and the sepal and bud of a dandelion plant.
Cardboard plant shape templates
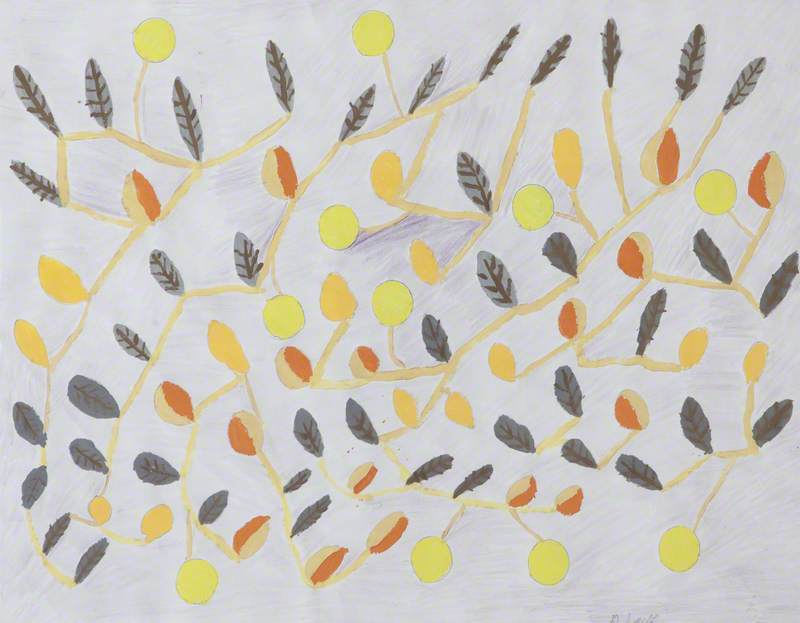
Step 4. Get some pattern inspiration
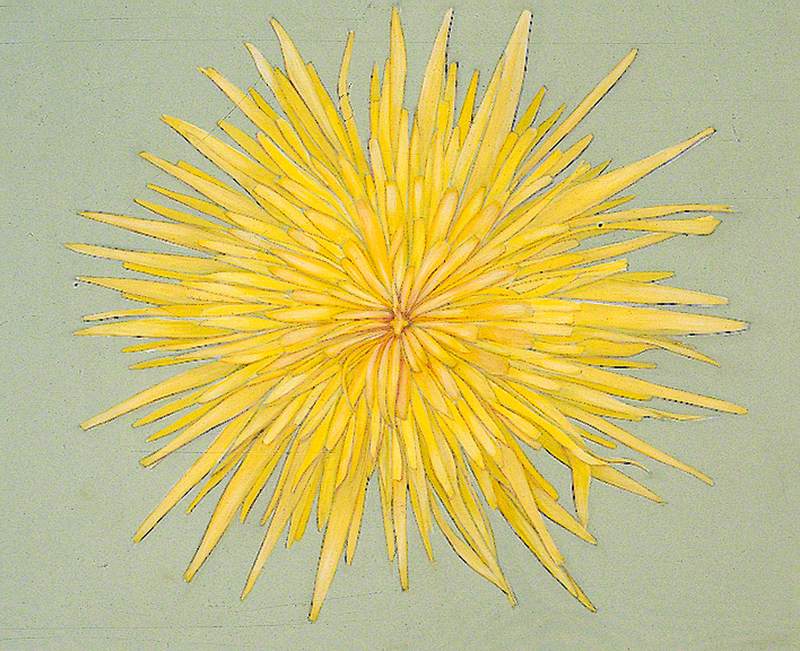
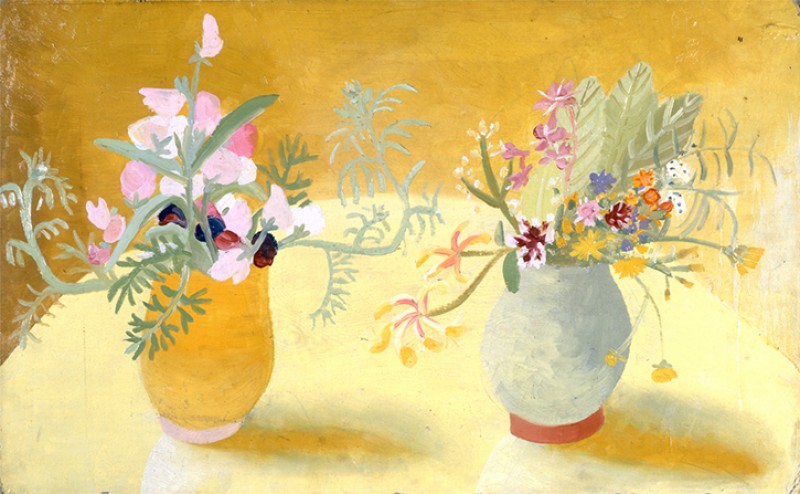
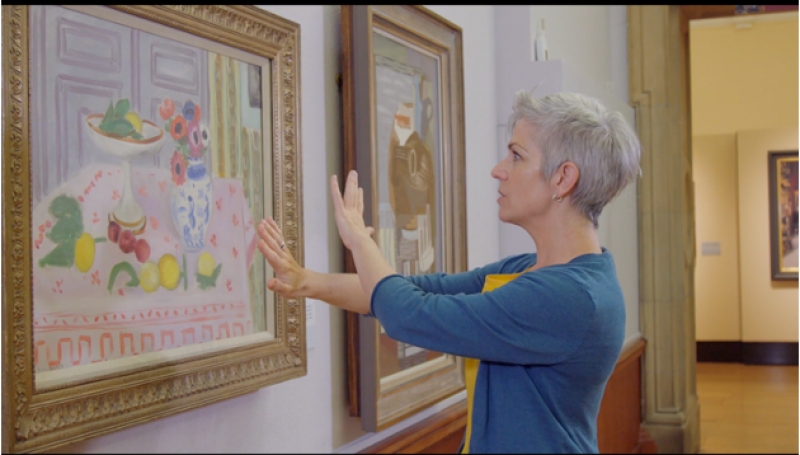
Before you create your pattern, explore some patterns made by artists and designers inspired by plant shapes. They may give you some ideas for your pattern.
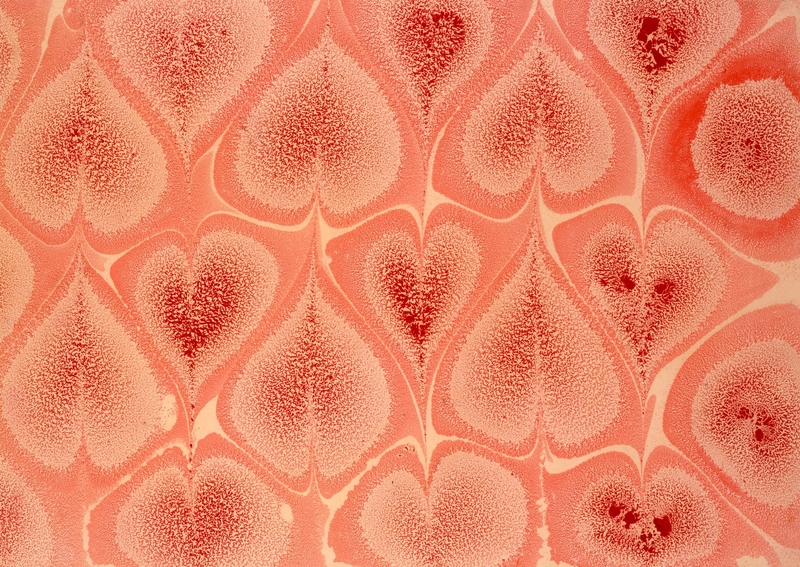
Do the patterns look random or organised?
Do any of these patterns include repeated shapes?
Which of these patterns is symmetrical? Can you spot their lines of symmetry?
Which of these patterns do you like best?
Hawaiian Quilt 20th C
unknown artist
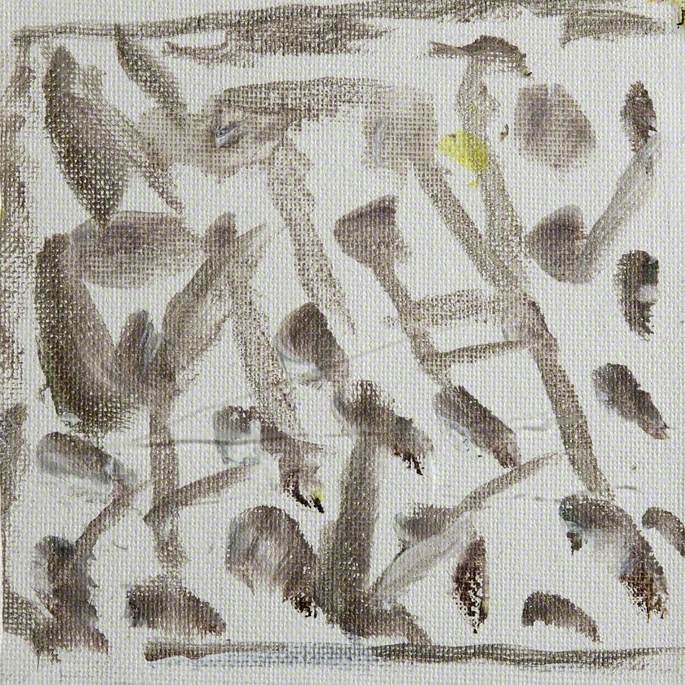
Leaf Pattern
Platt Lane Planning Group and Lime Art (active since 1973) and Dorothy Smith
Turkey Tracks Quilt 19th C
unknown artist
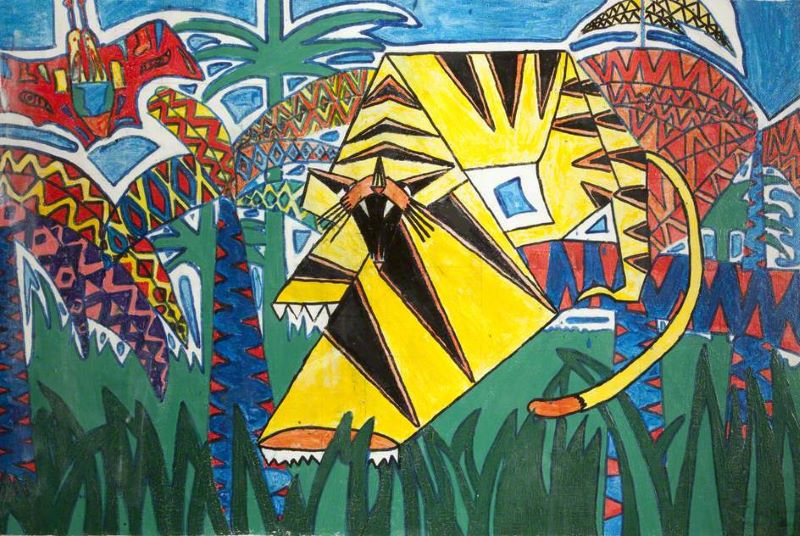
Leaf Patterns 1955
Edward Bawden (1903–1989)
Rose of Sharon Quilt 1850
Lavina Krishner (active c.1850)
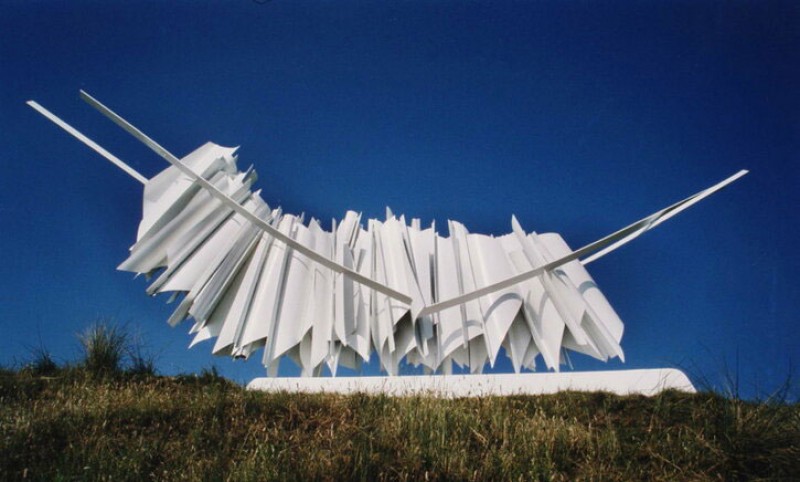
Spikes 2007
Victoria Hospital Staff and Patients
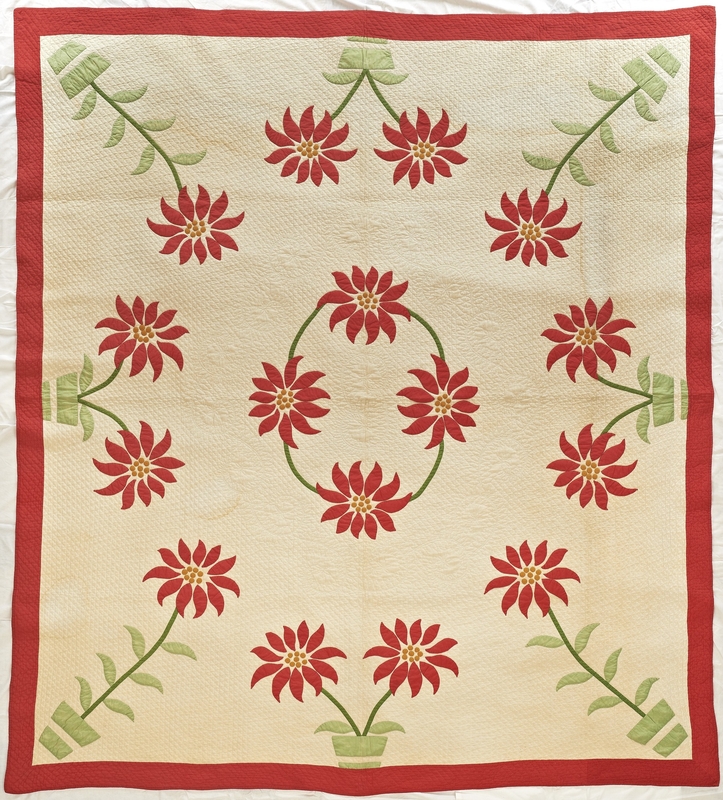
Appliqué Poinsettia Quilt 19th C
unknown artist
Step 5. Design and create your pattern
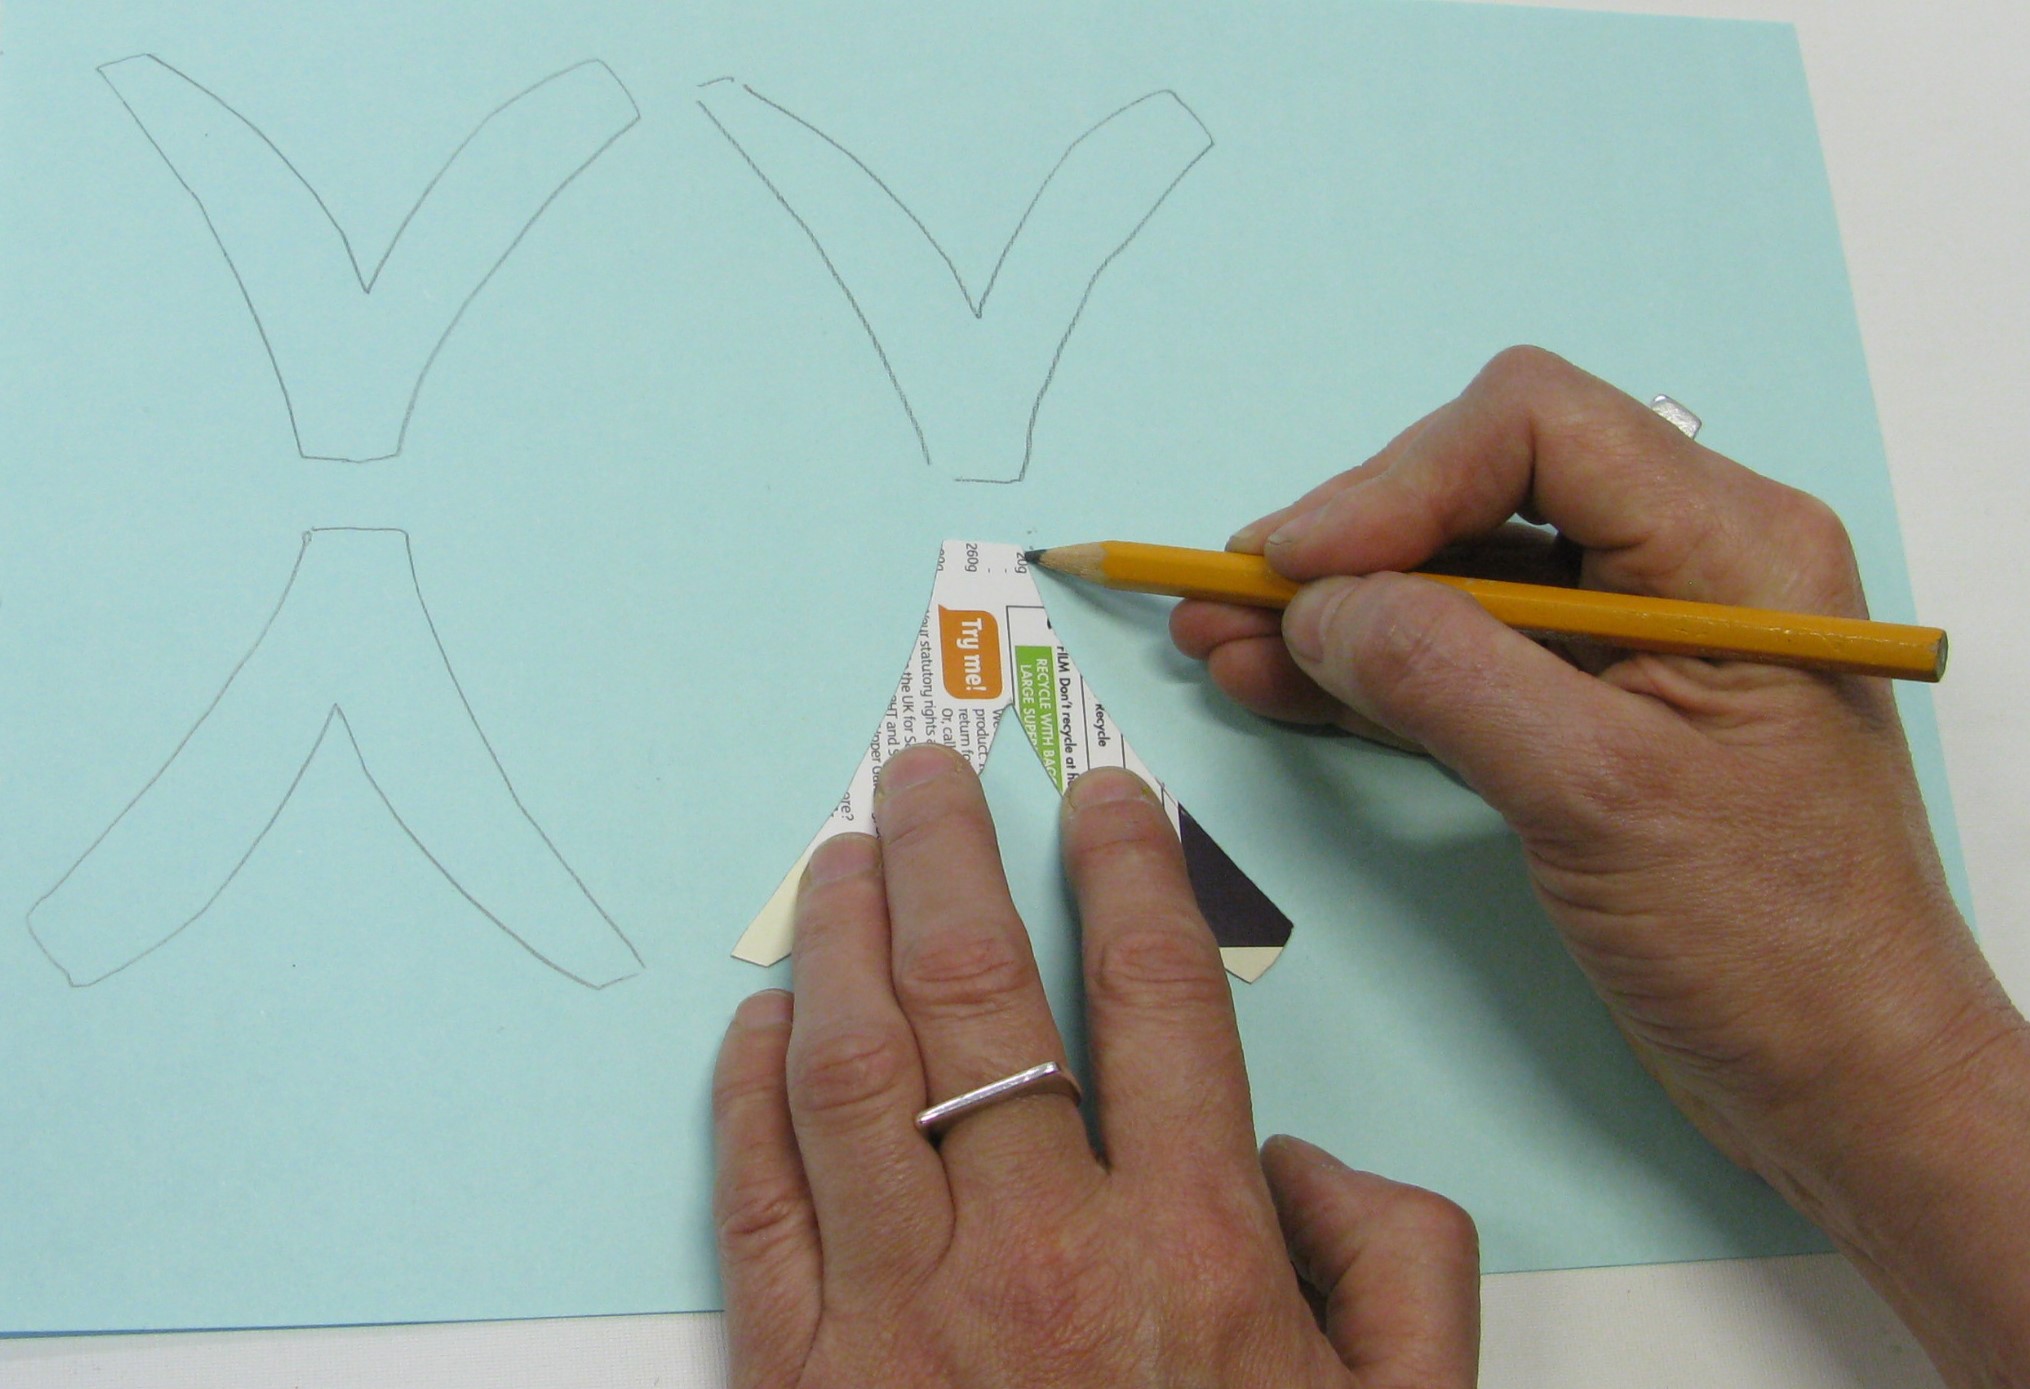
Look at your cardboard shape templates. You will be drawing around these to make your patterns.
Drawing around a shape template
Think about how you will arrange the shapes on your paper.
If you have two shapes, how will you place these to make a pattern?
You could try out different patterns by drawing around your templates, moving them and then drawing them again.
What happens if you place your shapes randomly across the paper?
What happens if you repeat the shape in a line?
What happens if you put them in a circle?
What happens if you alternate your two shapes?
What happens if you rotate the shapes or turn them upside down?
Once you are happy with your design, paint or colour it in. You could use just one colour or decide on different colour combinations.
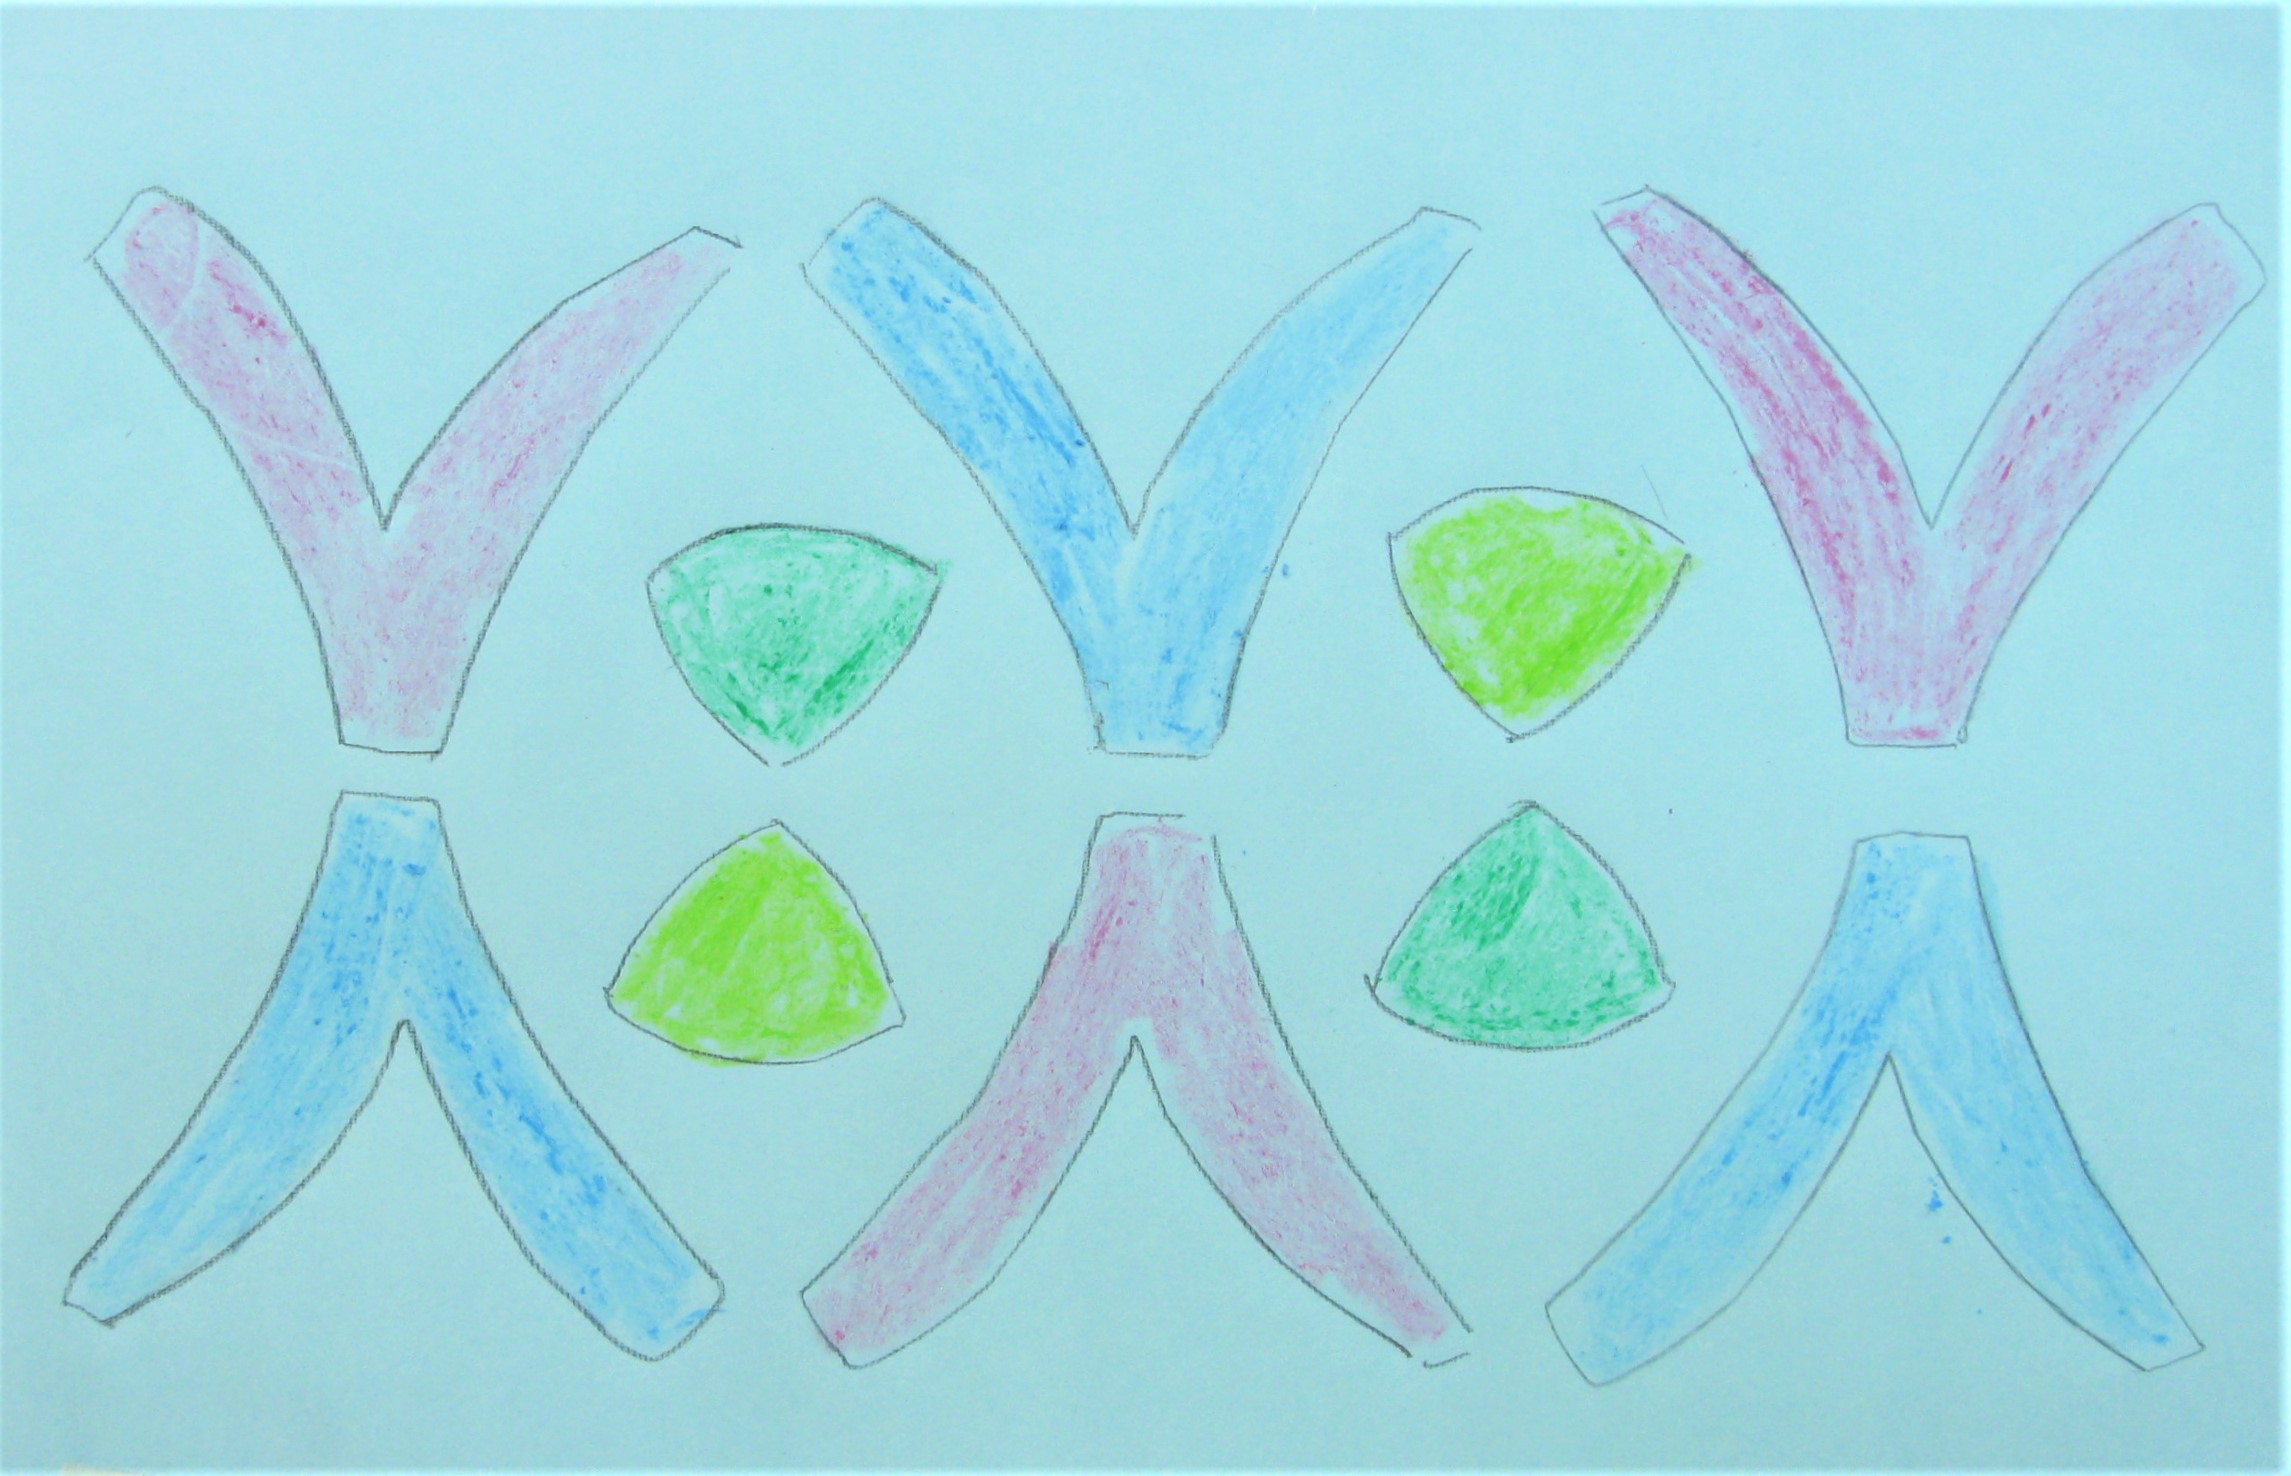
A pattern inspired by shapes seen in a pine cone
A pattern made from shapes inspired by the sepal and bud of a dandelion
Development ideas
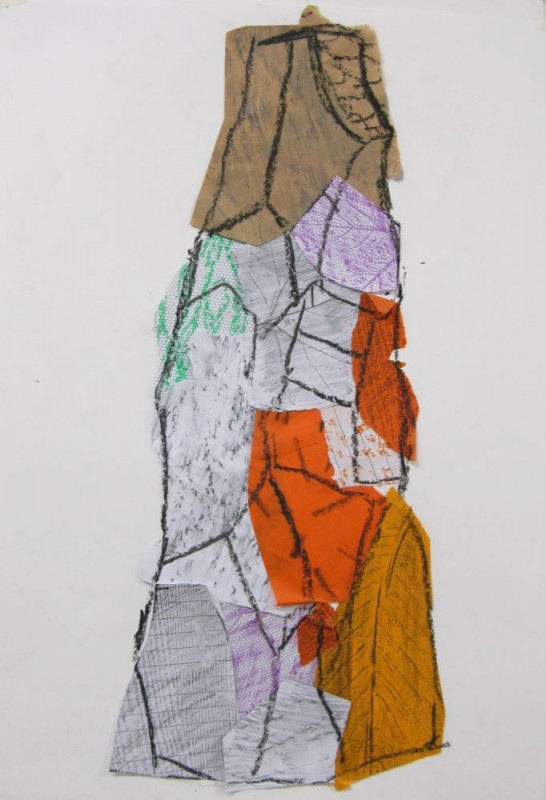
Coloured paper collage
Use steps 1 to 4 above to create your cardboard shape templates and get some pattern inspiration. You will be using cardboard templates to make coloured paper shapes for your pattern.
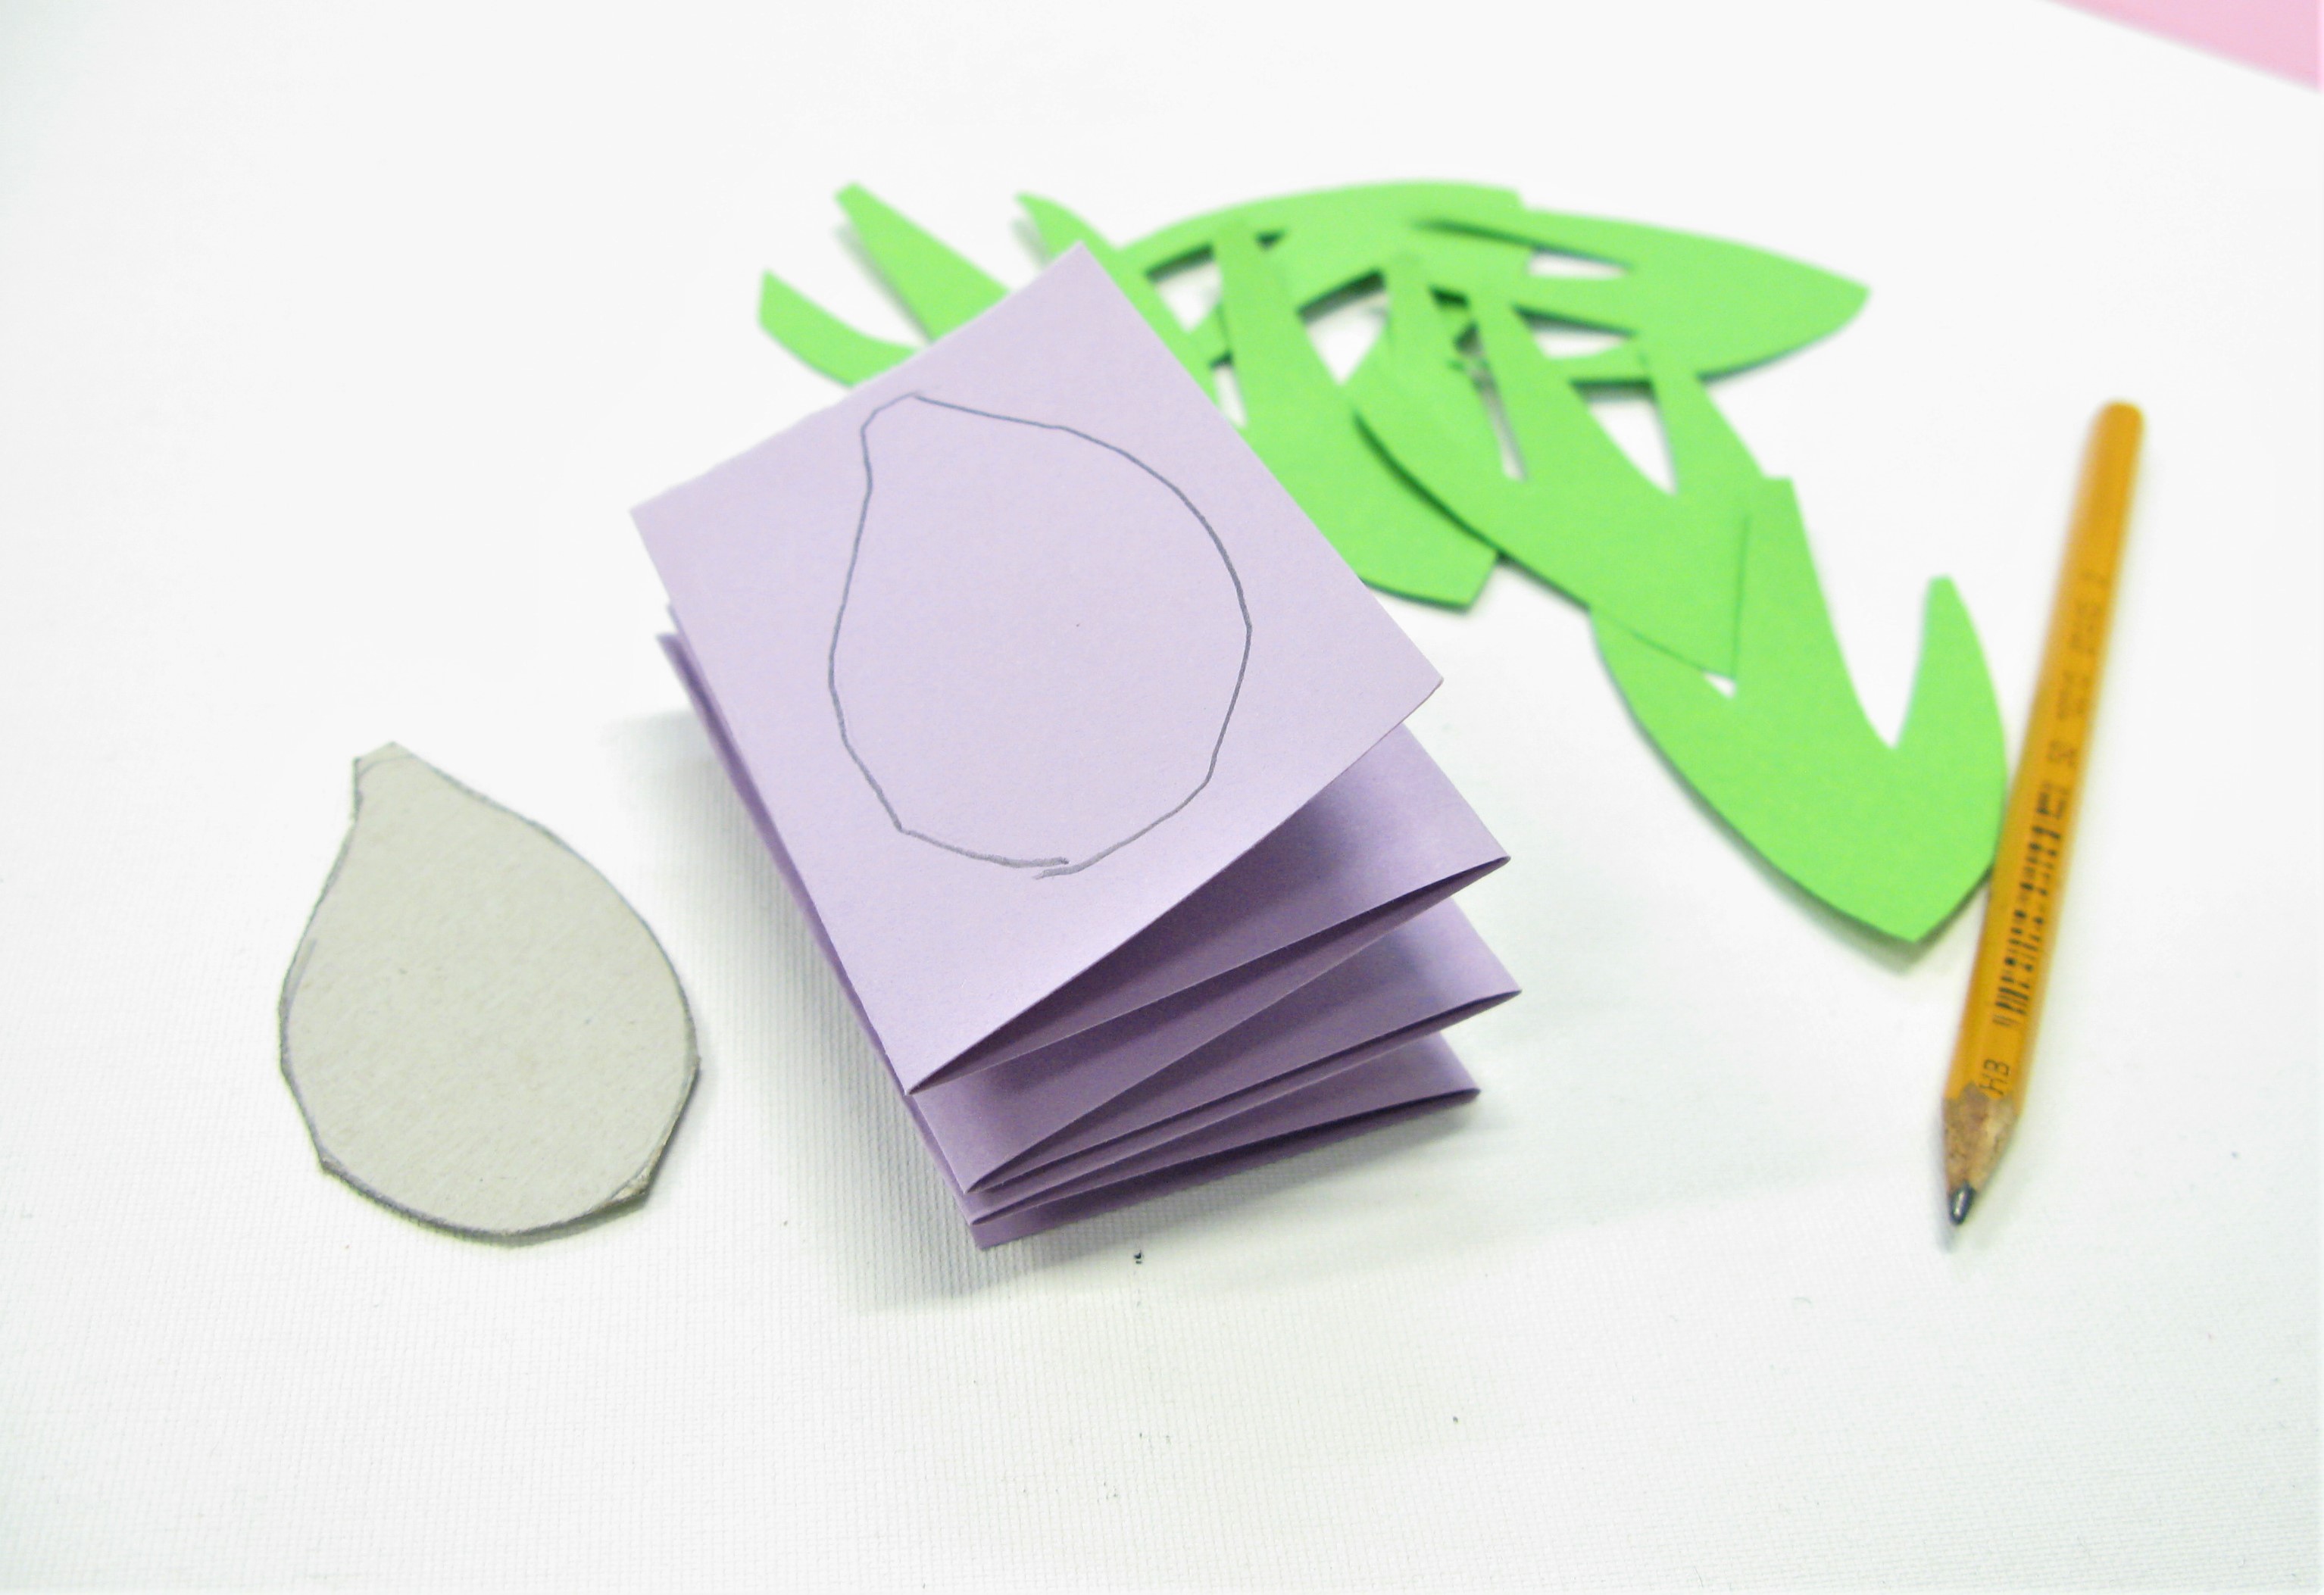
The shapes for this collage were inspired by the bud and sepal of a dandelion.
A pattern made from plant shapes
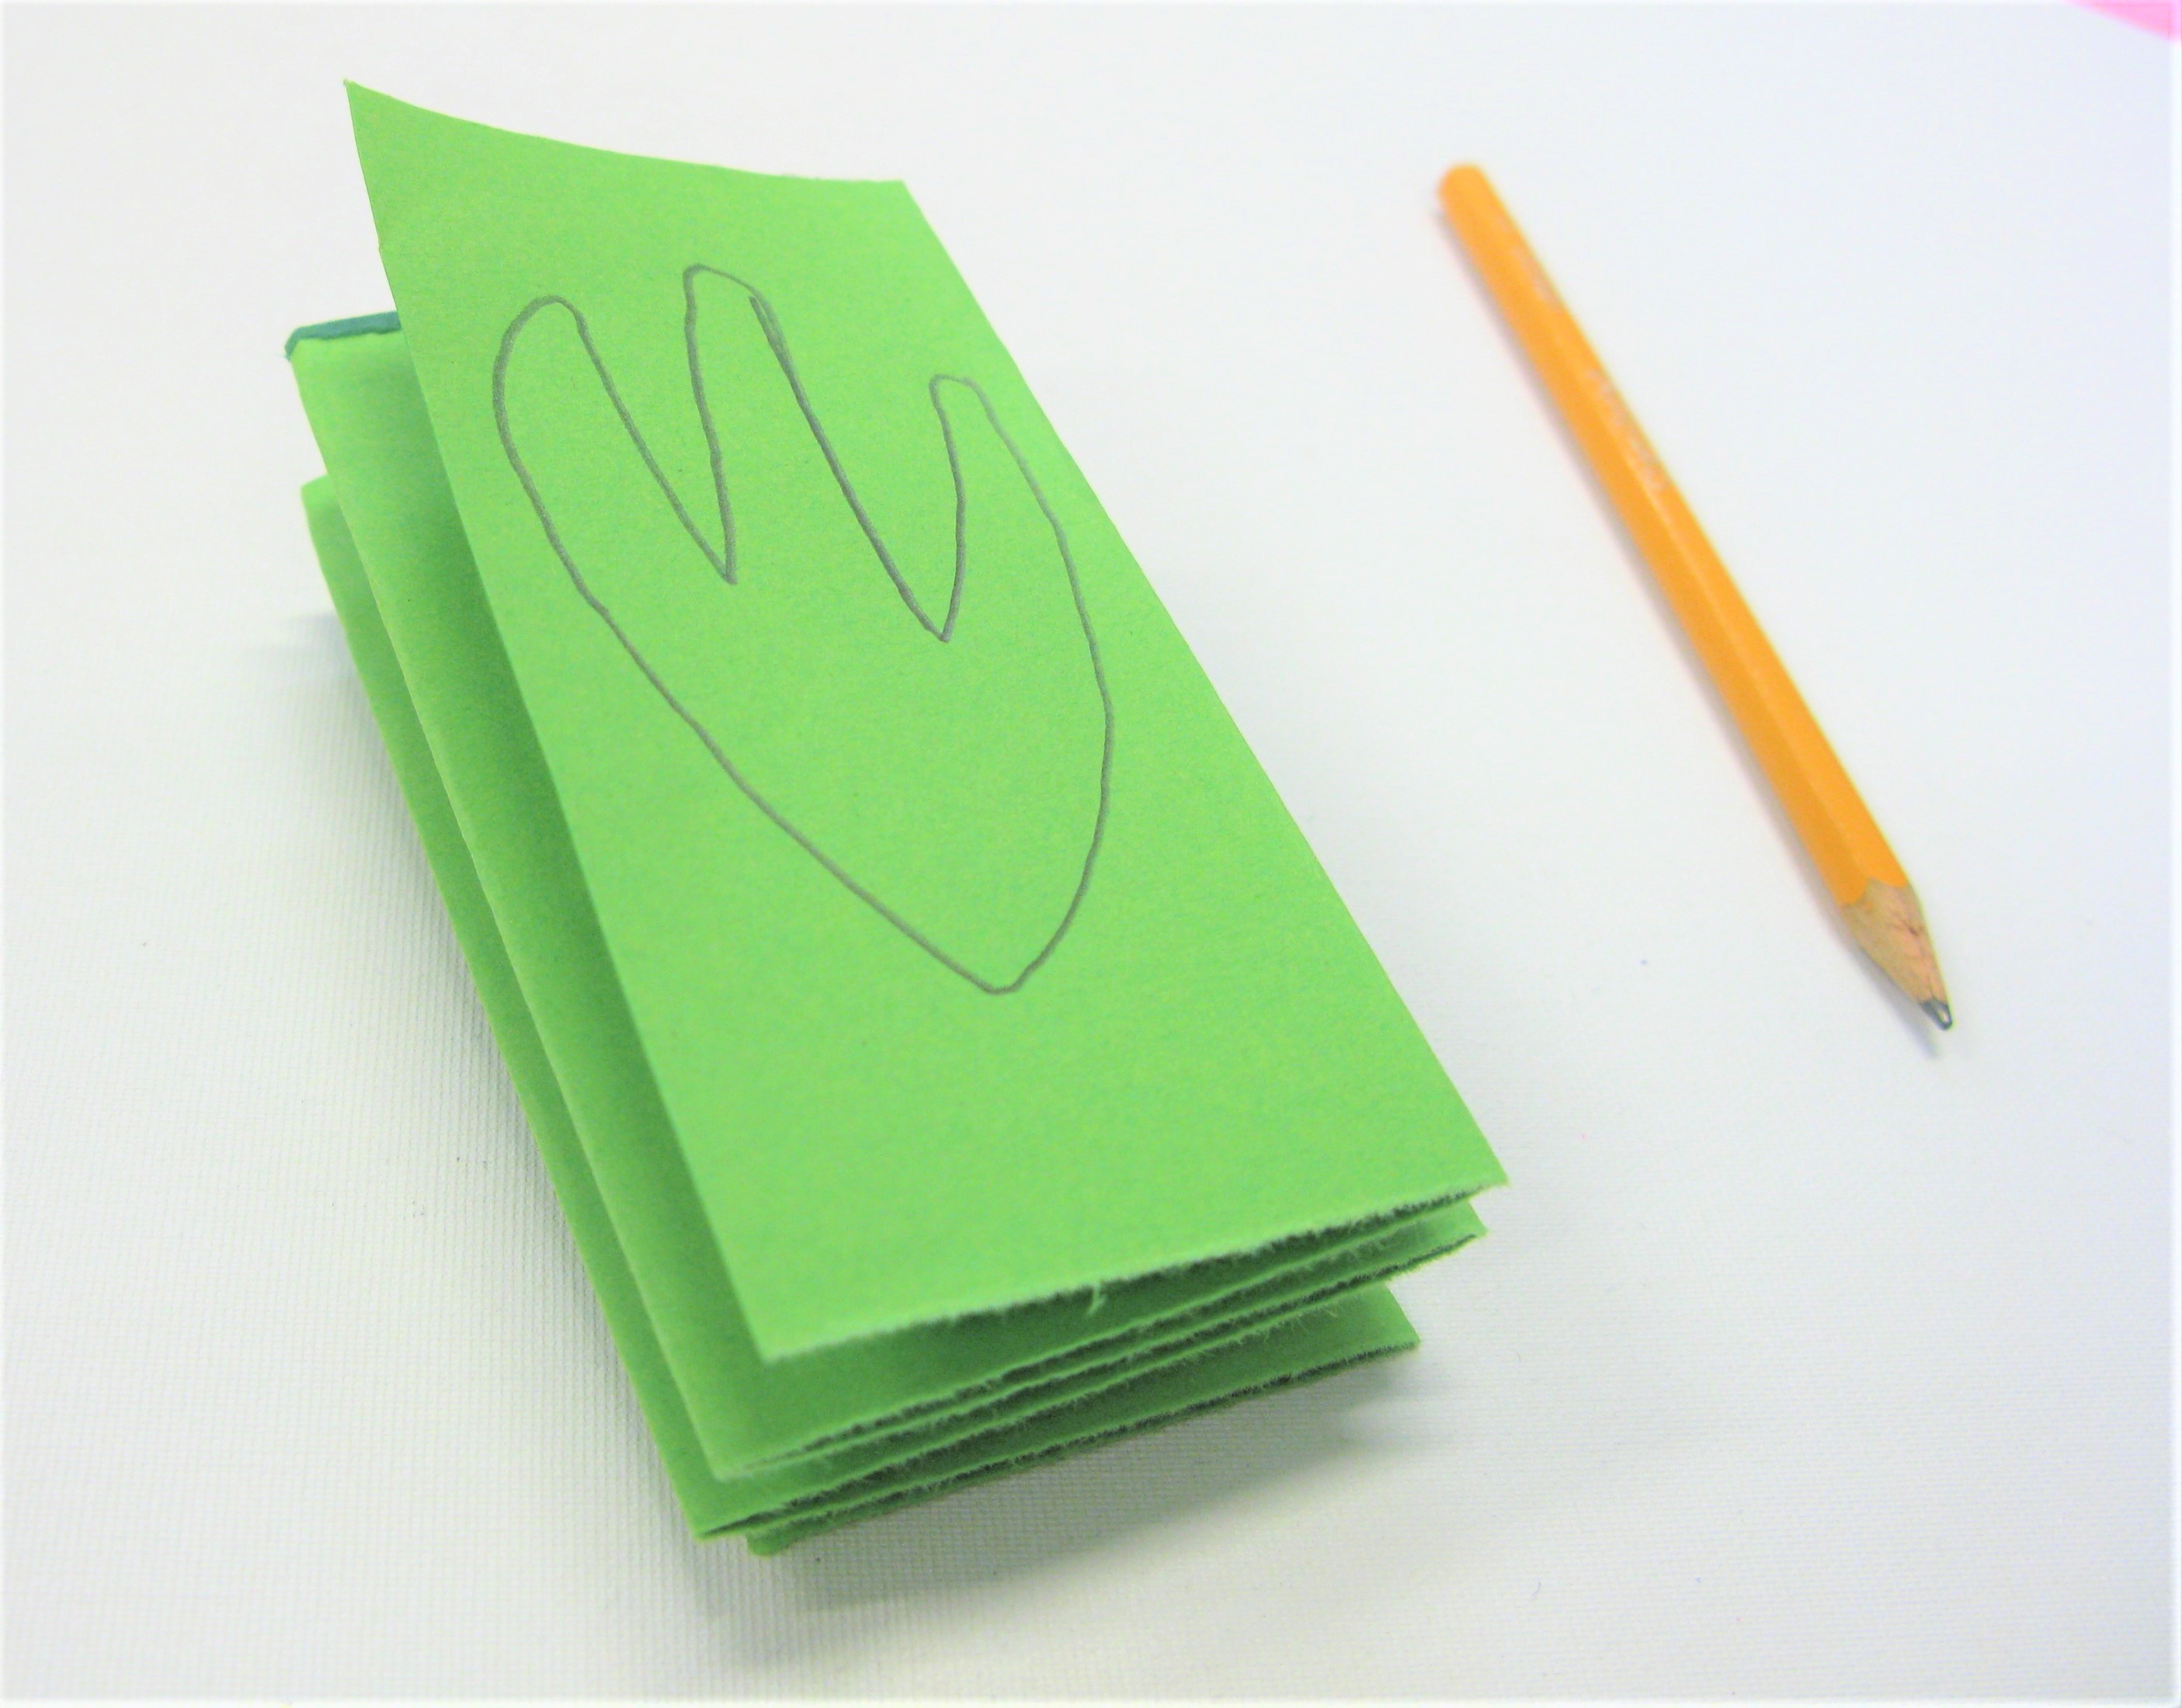
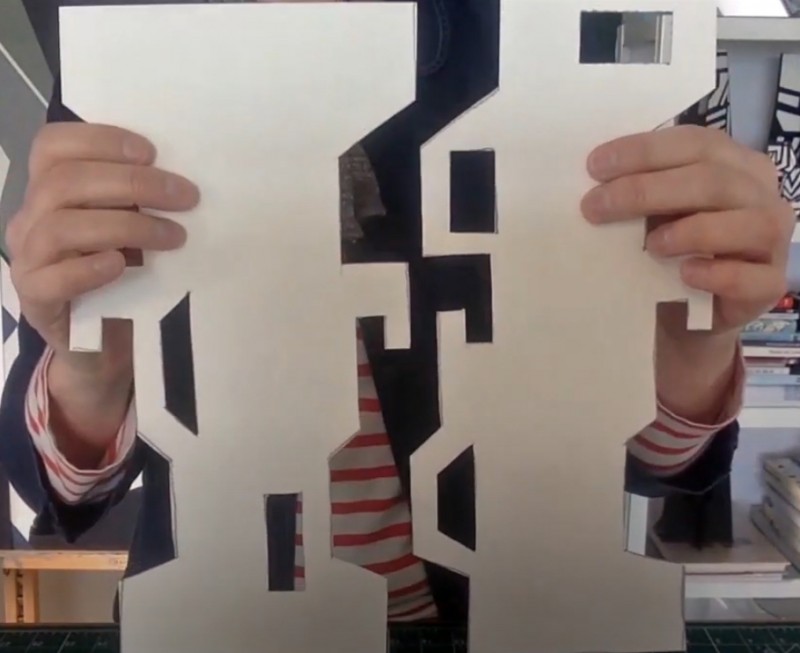
Create multiple paper shapes by making a concertina of coloured paper and drawing your shape on the top layer.
A concertina of paper with a shape drawn on the top layer
Cut the shape out, being careful to cut through all the layers of paper. You may need help with this step of the activity.
Repeat the process with the other shape using a different coloured sheet of paper.
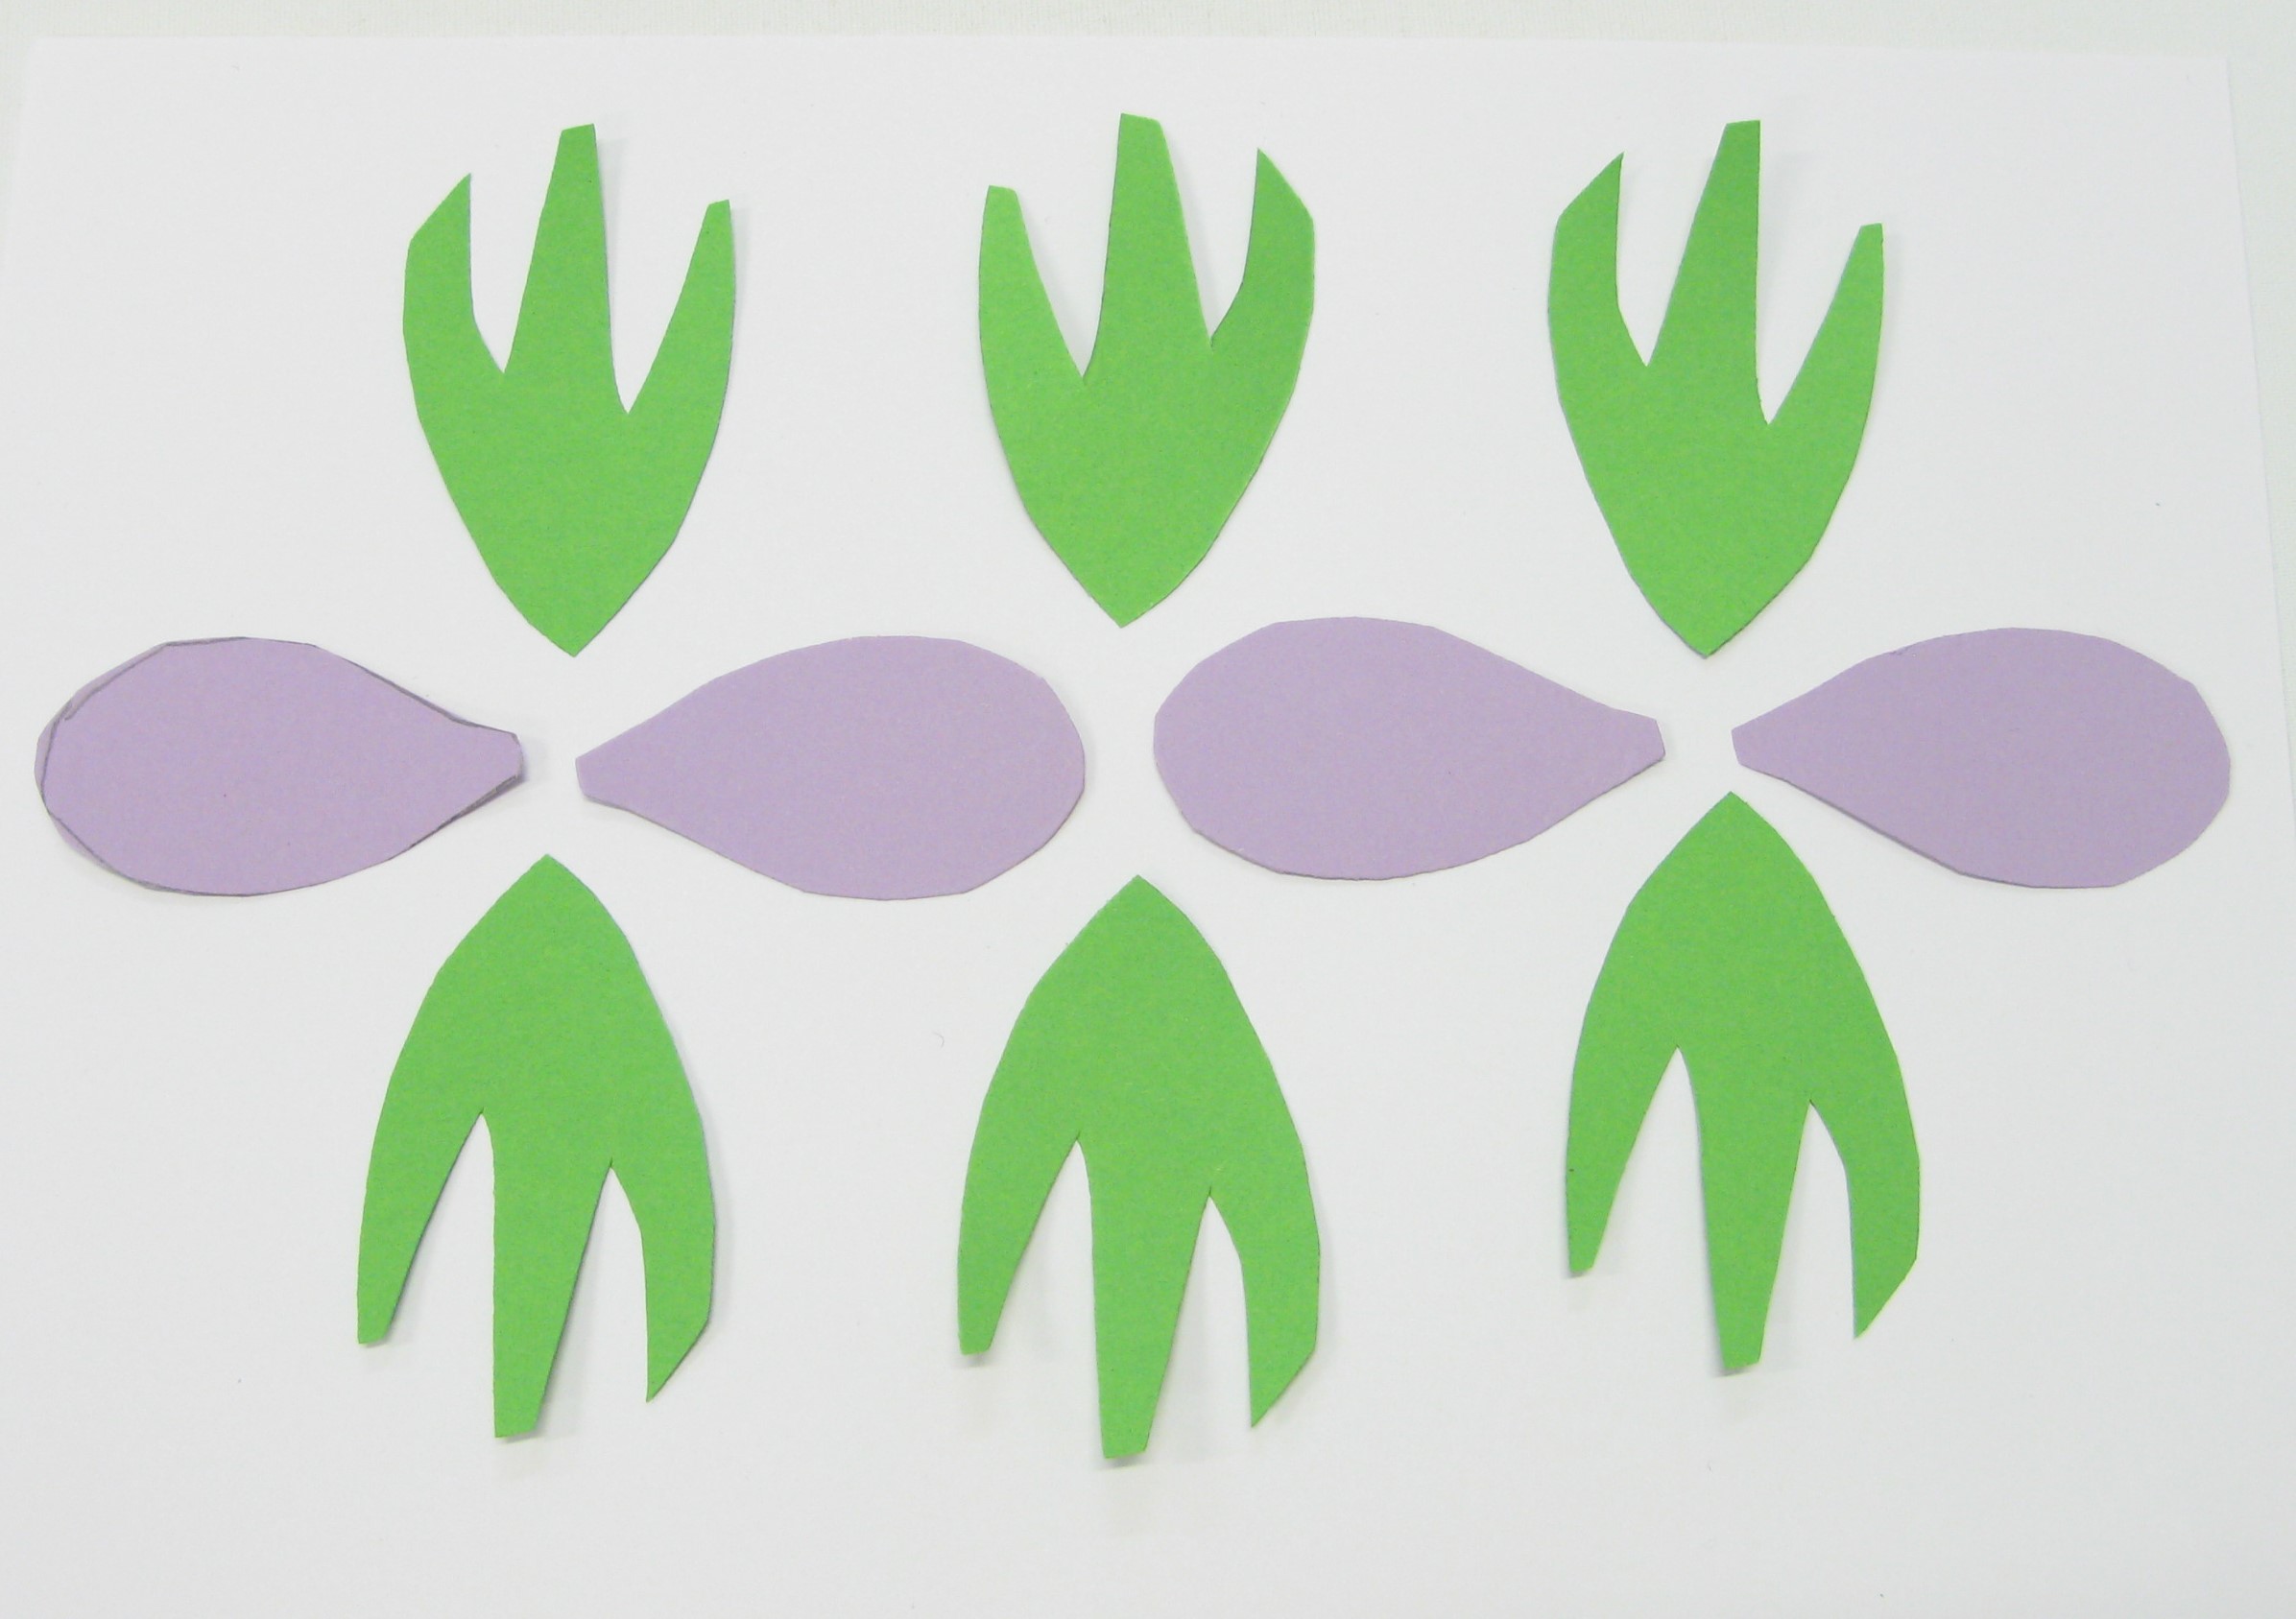
A concertina of paper and cut-out shapes
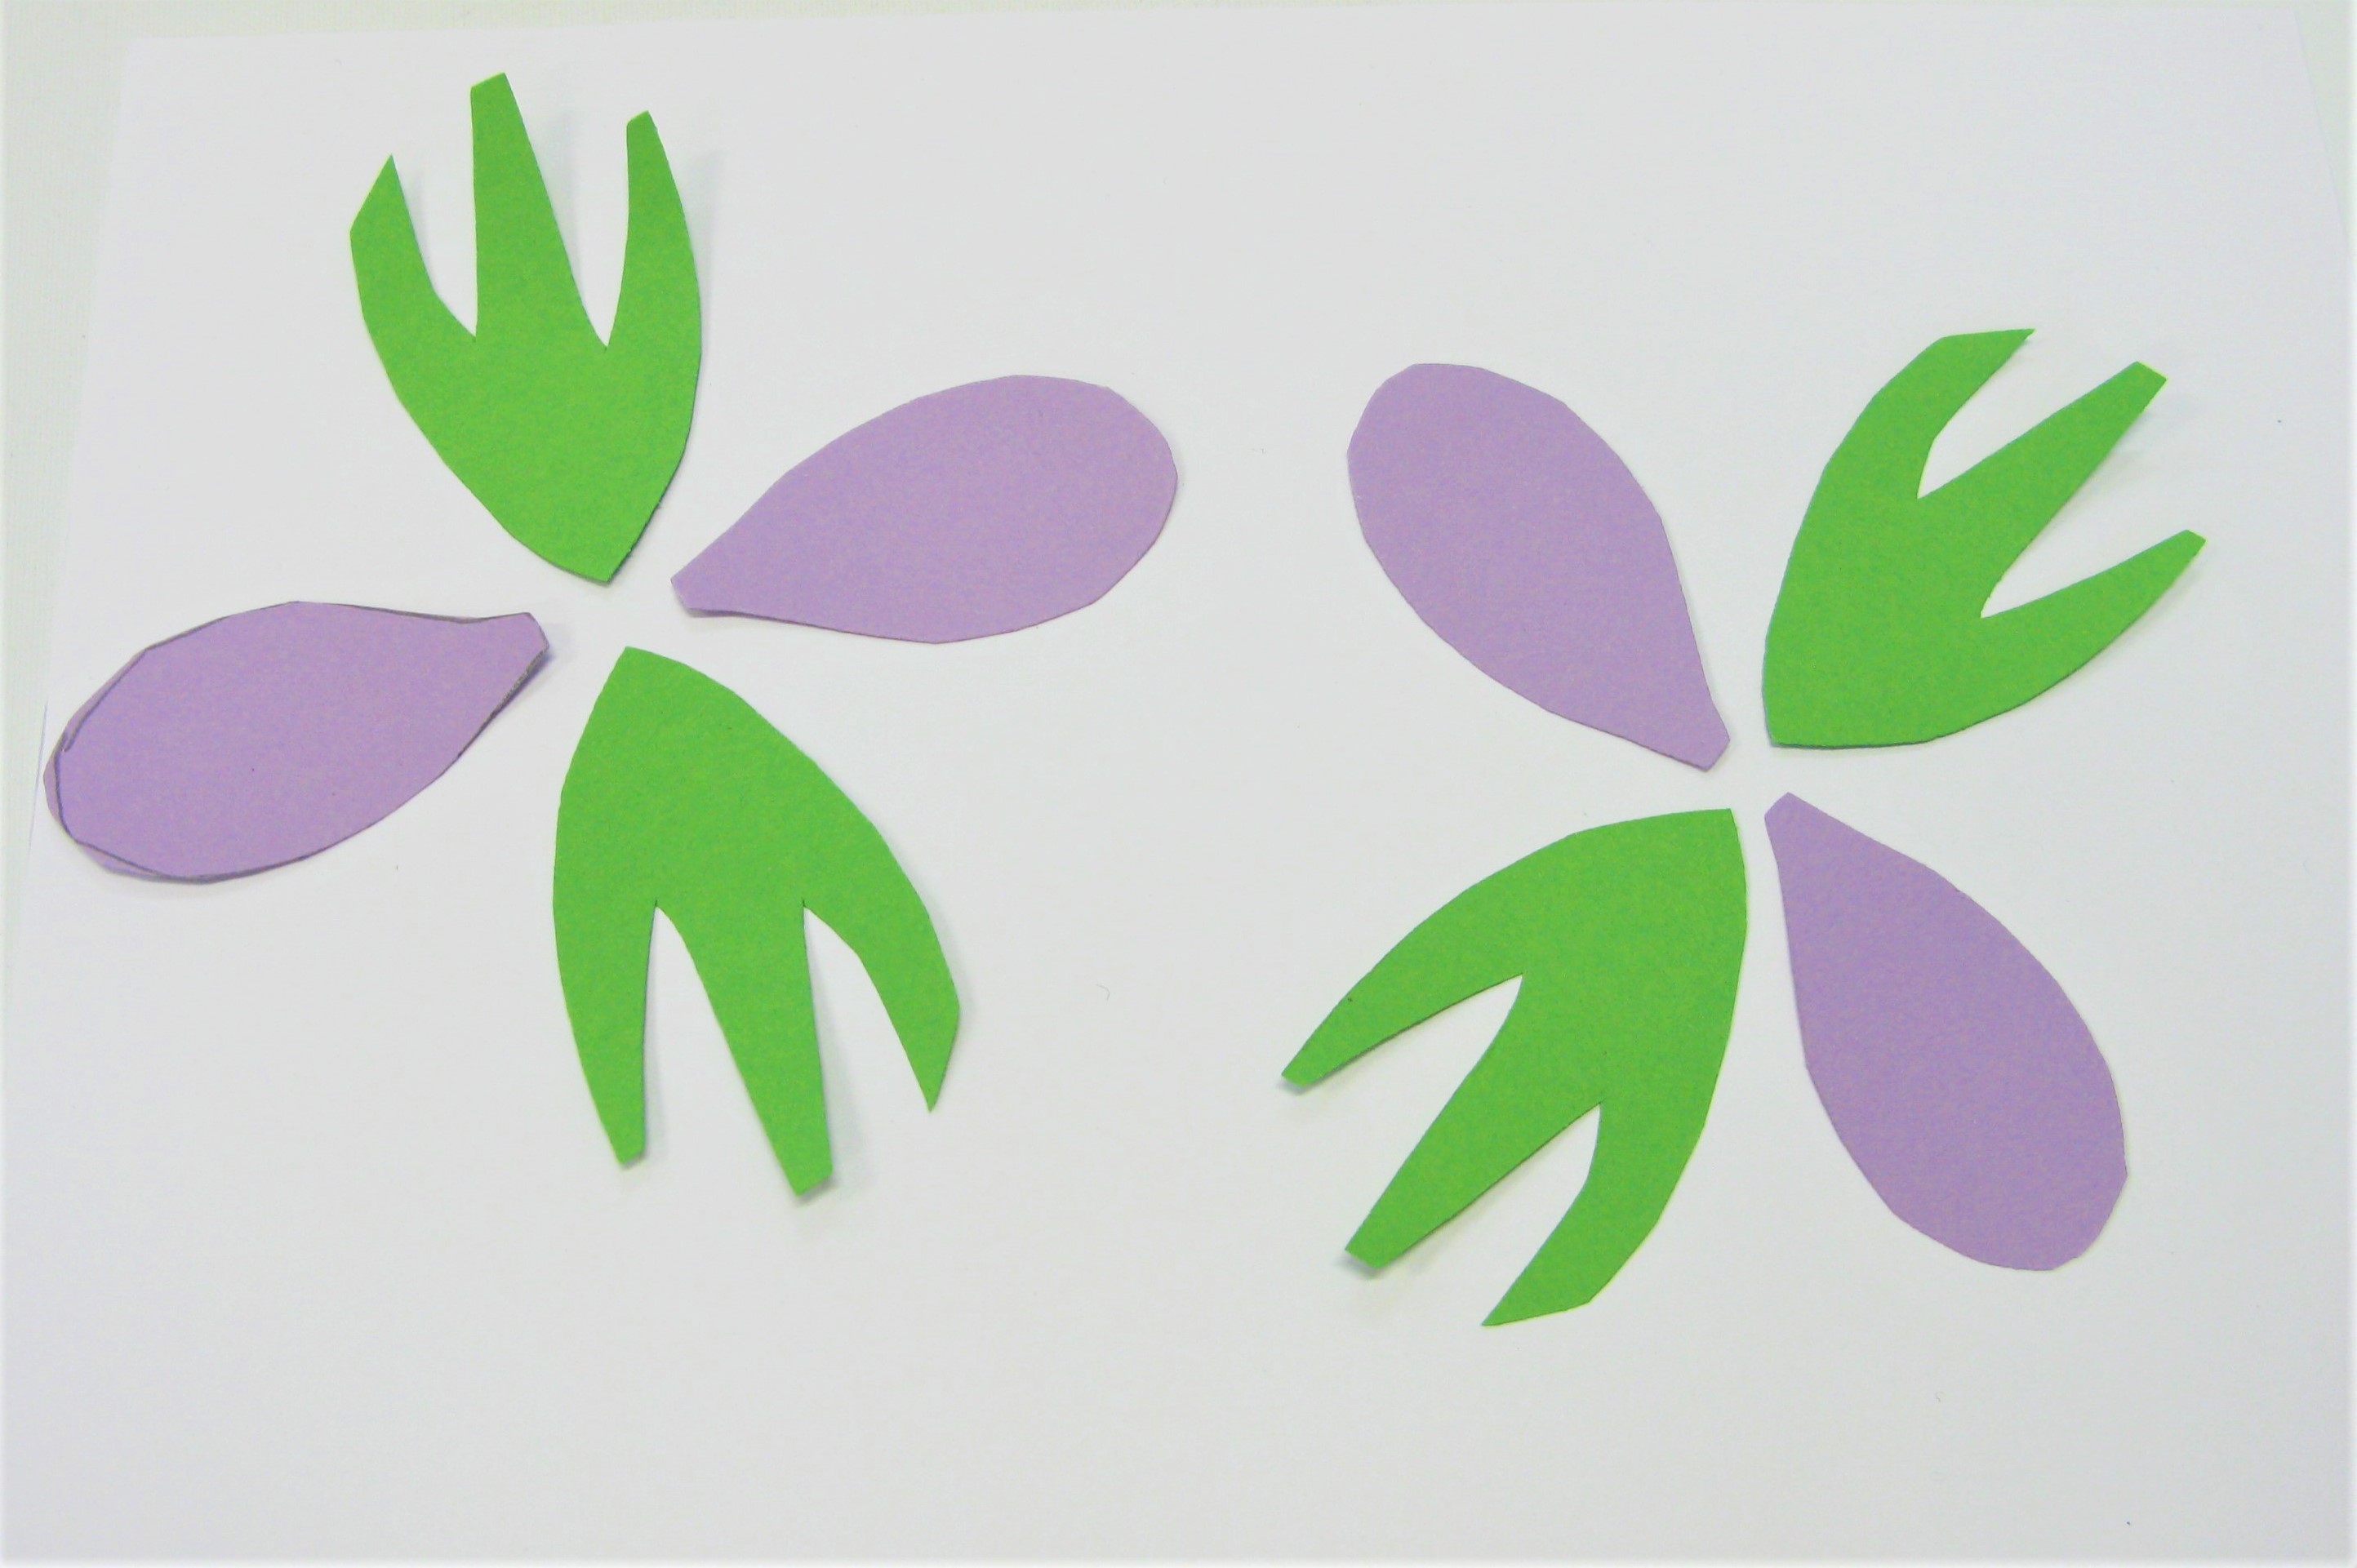
Arrange the shapes together on your paper to make a pattern.
Top tip! Try different arrangements of the shapes before you glue them down. You can then choose the one you like best.
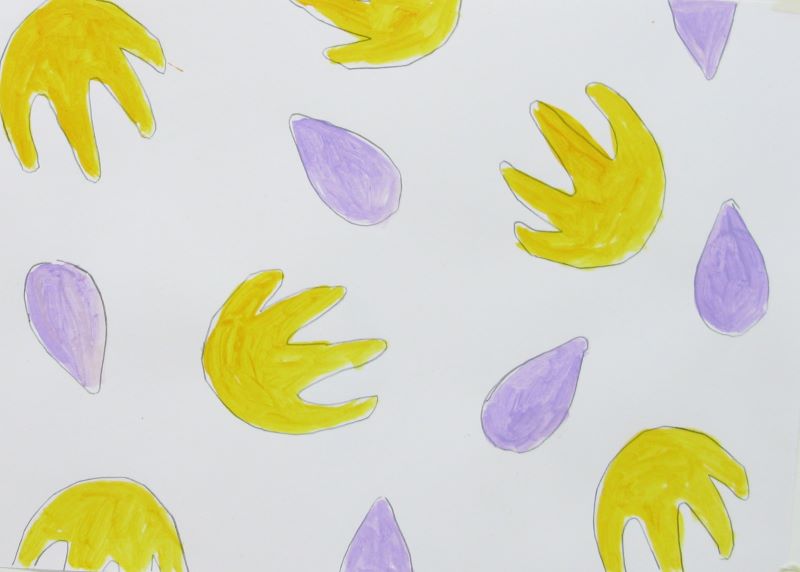
A pattern made from paper shapes inspired by plants
A pattern made from paper shapes inspired by plants
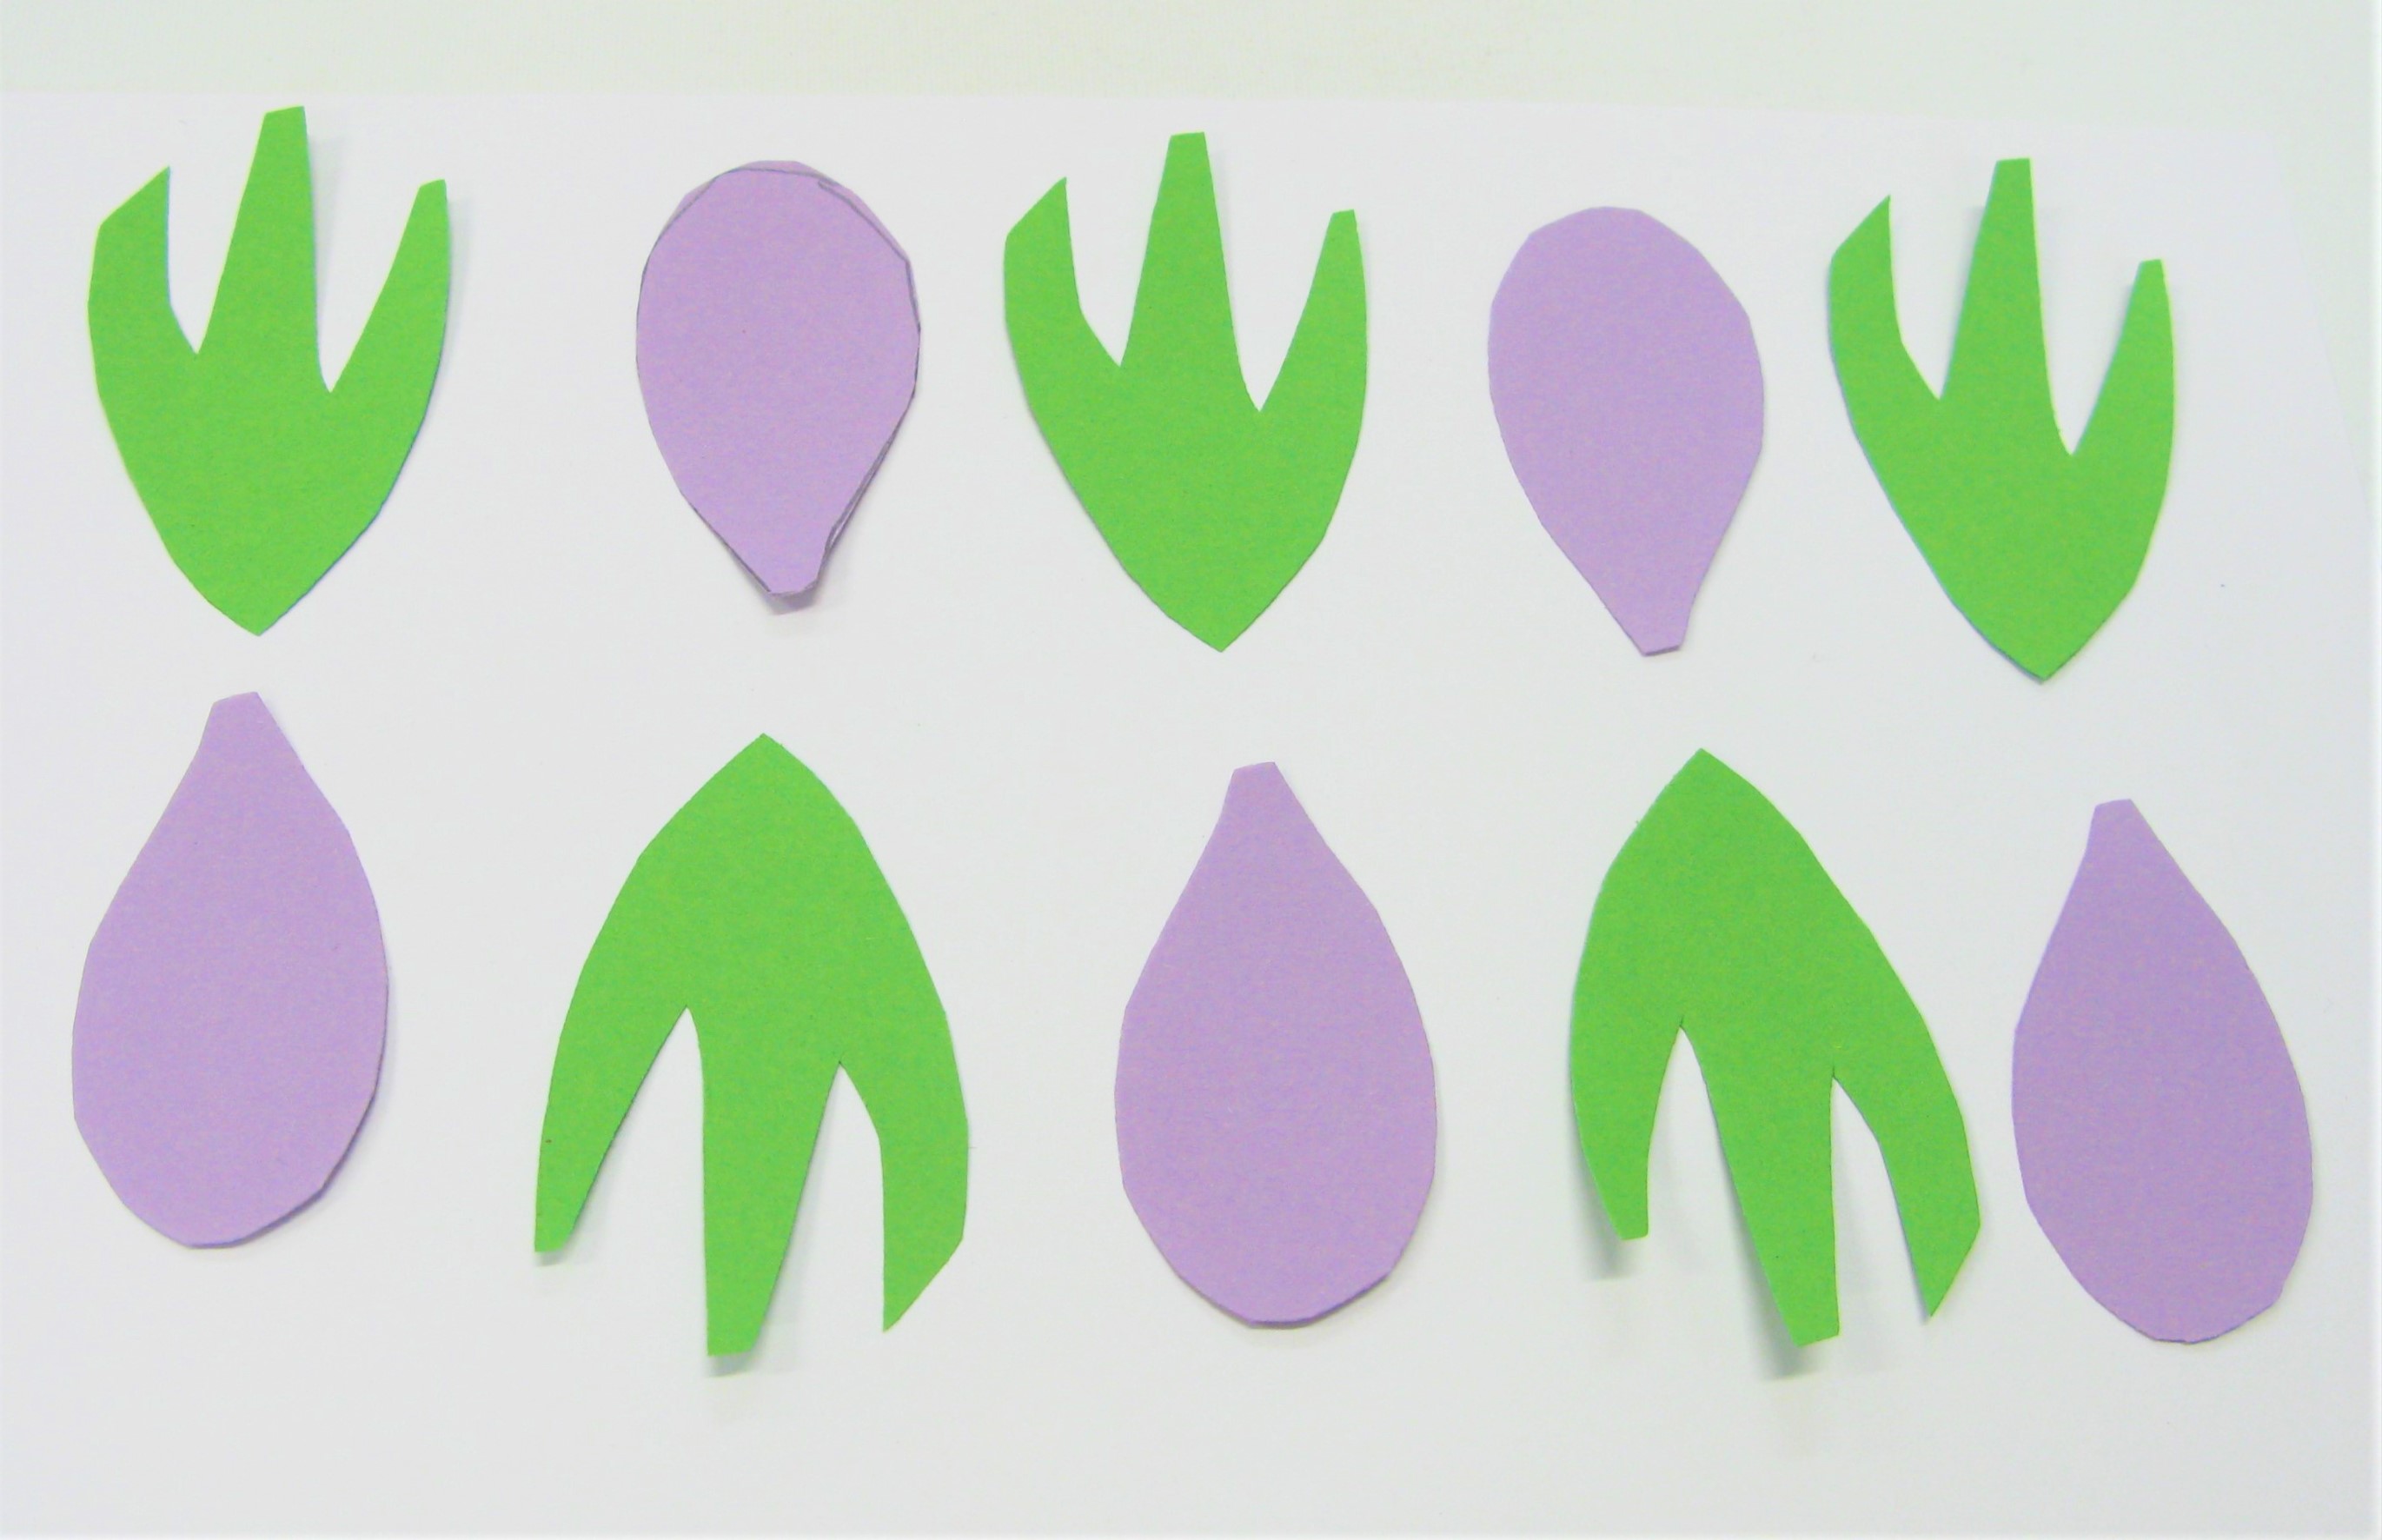
Once you have chosen your favourite arrangement, glue the shapes to the paper.
A pattern made from plant shapes
Make a potato print pattern
Make a print block from a halved or thickly sliced potato.
Here's how:
draw your shape onto the potato half or slice
remove the potato from around the shape with a wooden clay tool, teaspoon (or paper clip!)
brush paint onto the potato shape.
press the potato shape onto the paper, then move it and press it down again. Repeat this until you have made a pattern. (You may need to brush more paint on your shape during this process.)
This video from the Metropolitan Museum provides simple instructions for carving a potato with a paper clip to make a printed pattern.